Fix: Epson Error Code 0x97
There’s no doubt that Epson printers are one of the best printers that you can find in the market these days. But best doesn’t mean perfect. There’s a high chance that you will be a victim of error code 0x97 if you are using the Epson printer, especially for a long time. The error code 0x97 can occur at any time without any warnings or signs. Usually, this error presents itself on the printer with an indicator to turn the printer off and on again. Usually, this error code will show up during the printing process and your printer will stop printing afterward. So for as long as this error keeps showing up, you won’t be able to use your printer.
The Epson error 0x97 happens because of an internal hardware issue. There are quite a few Epson models that are known to have this hardware issue where their motherboard will fail all of sudden. There aren’t many things that you can do once you’re facing a hardware issue and at most, you can try to clean the print head nozzles. There are some workarounds for the problem but as you might have already guessed, there isn’t a permanent solution except for repairing or getting a replacement.
Try the methods given below to troubleshoot and solve the problem but if nothing works then your last choice would be to try the last method.

1. Unplug and Plug-in
The steps given below require some technical knowledge of how to open and use your printer. If you aren’t sure then refer to the manual that came with your printer because the steps vary from model to model.
- Open the printer casing and check for any jammed papers or debris. If you find any, remove it.
- Remove all printing cartridges
- Unplug all the USBs and cables

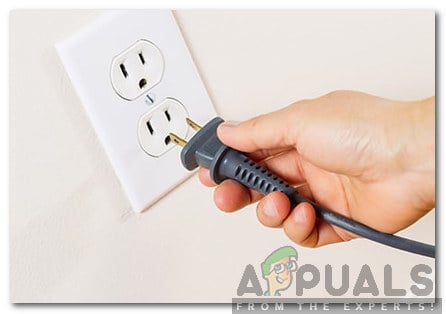
Unplugging power from the equipment - Once the printer is disconnected, press the power button as if you were trying to turn on the printer. This will discharge any residual current in the printer
- Now reconnect all the USBs and power cable
- Turn on your printer and check for the error
2. Power-cycling the Printer
This method is a variation of the first method. So if that didn’t work then try this method to confirm if the error is caused by the internal hardware failure or not.
- Turn off your printer
- Unplug all cables

Unplugging - Wait for 5 minutes
- Press and hold the power button for 60+ seconds (DO NOT release it)
- When the 60+ seconds have gone, plug in the power cable while keeping the power button pressed
- Hold the power button pressed for another 60+ seconds (after plugging in the power cable)
- Release the power button after 60 seconds of plugging in.
Now check if the error code is still shown on the printer.
3. Wet Tissue
In some cases, the error code might be displayed because of waste ink around the head sprayer. Cleaning that waste ink with wet tissue sometimes solves the problem. Follow the steps given below to perform the cleanup procedure.
Note: This method requires a bit of technical knowledge and might not be suited for everyone. If you aren’t sure then ask an expert and take help from the manual that came with the printer.
- Turn off your printer
- Open the printer casing
- Take a tissue and wet it with warm water
- Now move the head to the center
- Put the tissue to the head cleaning mechanic pad
- Move the head to the parking spot
- Wait 10 minutes
Now remove the tissue and close everything. Turn on the printer and check if the problem is still there. Repeat this method 3 times if it doesn’t work the first time.
4. Customer Support
If none of these methods shown above helped you at all, then it’s highly likely that it’s a hardware failure. There is nothing that you can do to fix the printer now without taking the risk of permanently damaging your printer if you want to ignore that warning and still continue you can try some of the steps in this article (here). If you don’t want to continue with the steps you can contact customer support and they will guide you further. If you have your warranty then Epson should replace your printer with a new one within a few days.