How to Add a Second Network Card to Amazon EC2 instance?
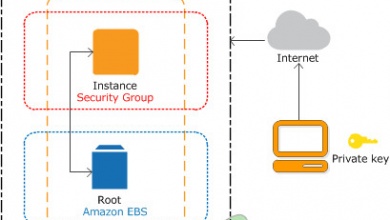
Once you create your EC2 instance, Amazon will assign your single network interface with the static private IP address and internal DNS name. Both addresses will be assigned by the Amazon DHCP server. Please note that your Amazon EC2 instance cannot communicate with the outside world by using a private IP address, but only with other EC2 instance within the same VPC. The procedure of creating an additional network interface is straightforward. Please also note that you can not assign an additional network interface to t2.small interface which is a free tier instance.
- Login into AWS Management Console
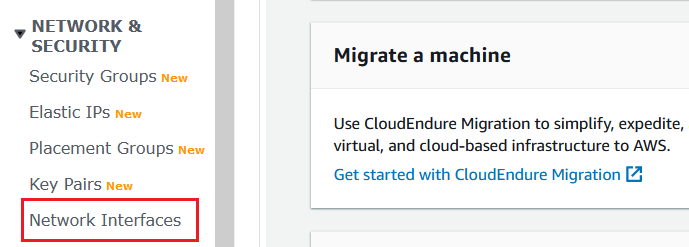
- Click on Network Interfaces under Network & Security
- Click on Create Network Interface

- Fill in the form by typing the following:
- Description – An optional description of the network interface. In our case, it is Connection to FTP.
- Subnet – Choose the subnet that will be associated with a network interface. You can see the subnet by accessing your Amazon EC2 instance and under the Description tab, please check the name of the subnet.
- IPv4 Private IP – define if you would like to get IP from the DHCP server or your want to add static IP address. If you click on Custom, you will need to type the static IP in the next field.
- IPv4 address – type static IP address. You will need to use the IP address for the relevant subnet.
- Elastic Fabric Adapter – An Elastic Fabric Adapter is a network device that you can attach to your instances to reduce latency and increase throughput for distributed High-Performance Computing and Machine Learning applications. In our case, we will not enable it.
- Security groups – choose the security group that will control the incoming and outgoing traffic in the network interface. We will choose the default security group that only allows RDP to Amazon EC2 instance and all traffic outside of the Amazon EC2 instance.
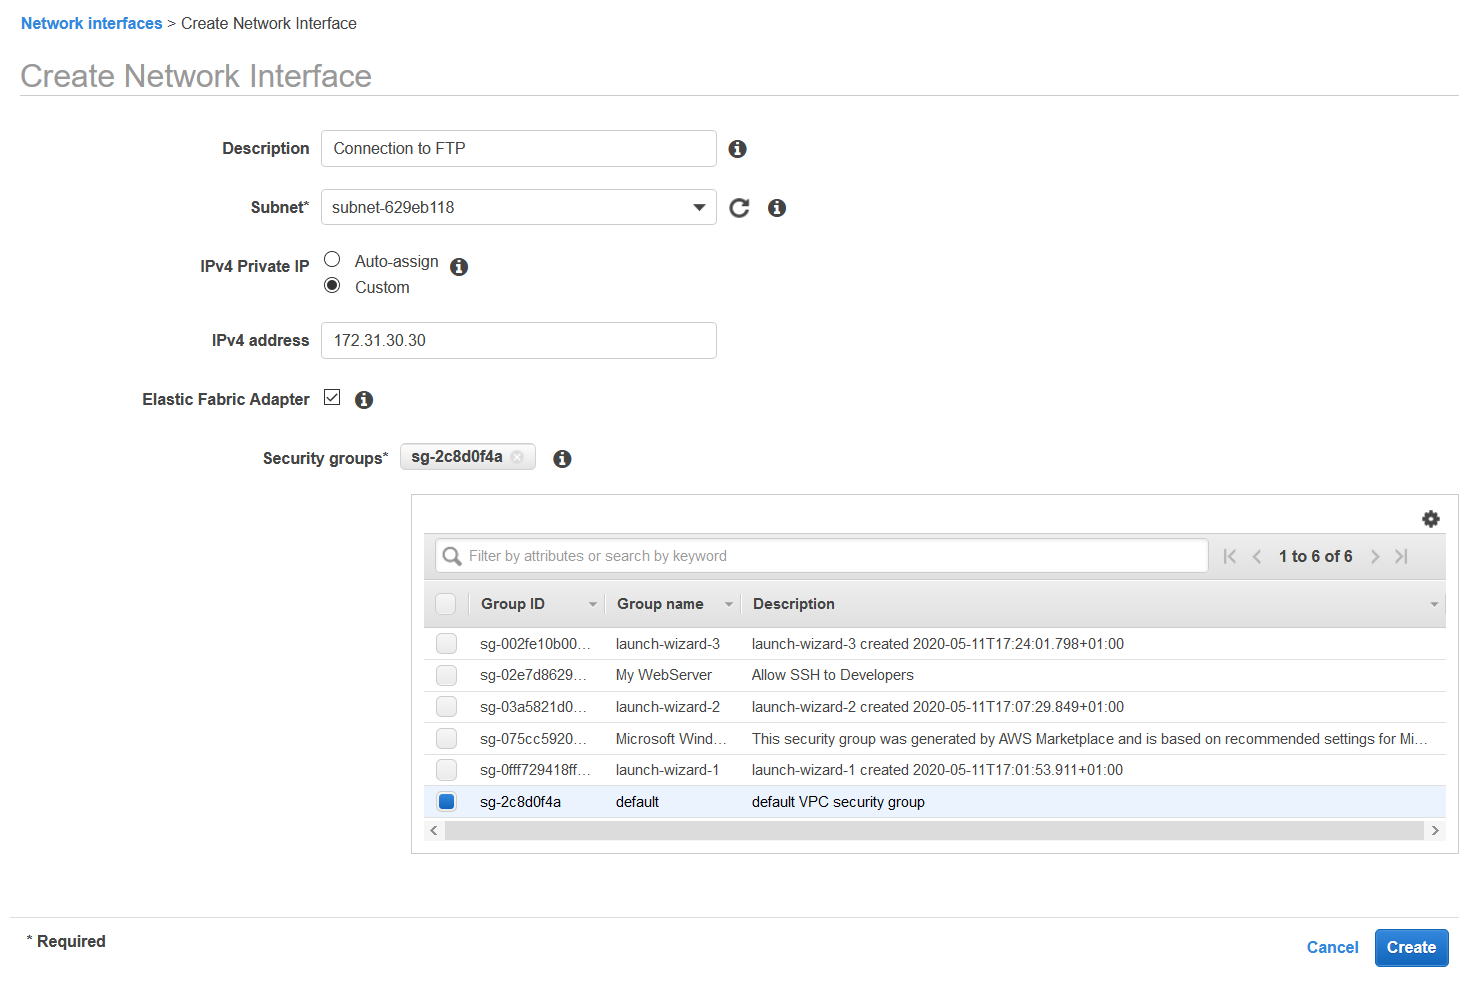
- Click on Create. You have successfully created a network card. As you can see it is shown in the network interface list.
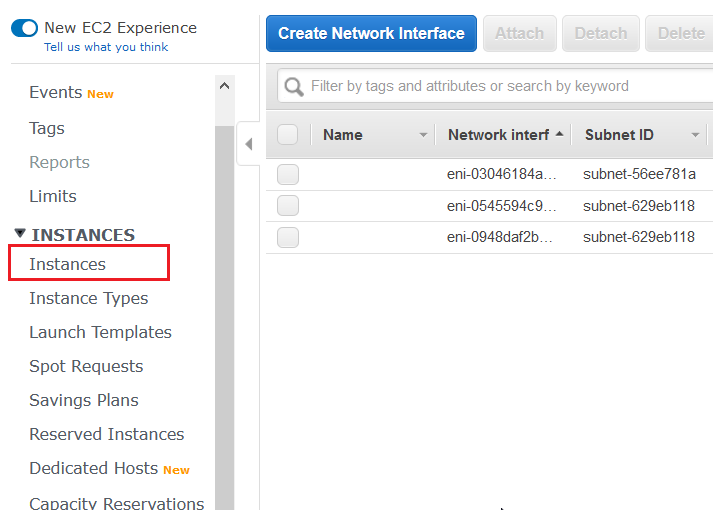
- Click on Instances under INSTANCES on the left side of the window
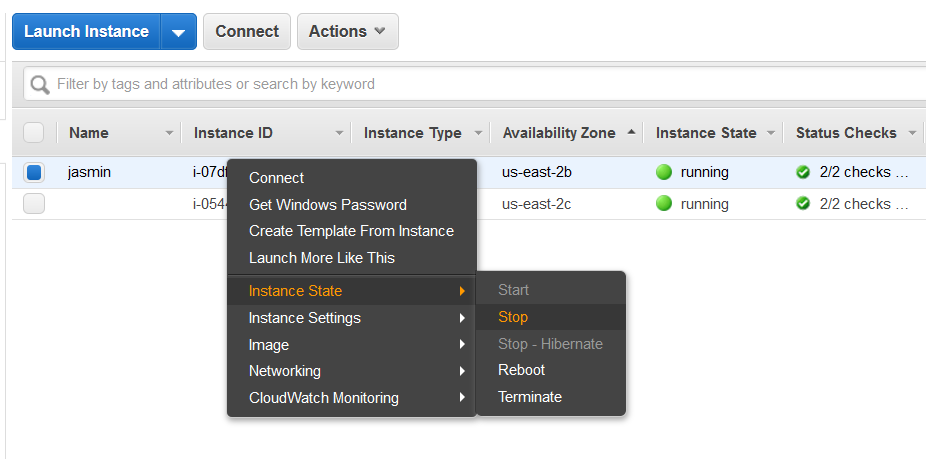
- Right click on your Amazon EC2 instance and then click on Instance State > Stop to stop your Amazon EC2 instance. It is not possible to attach a network interface if the Amazon EC2 instance is running.
- Click Yes, Stop to confirm stopping the Amazon EC2 instance.
- Click on Network Interfaces under Network & Security

- Click on Create Network Interface
- Right click on the newly created network interface and then click on Attach to assign this network card to your Amazon EC2 instance.
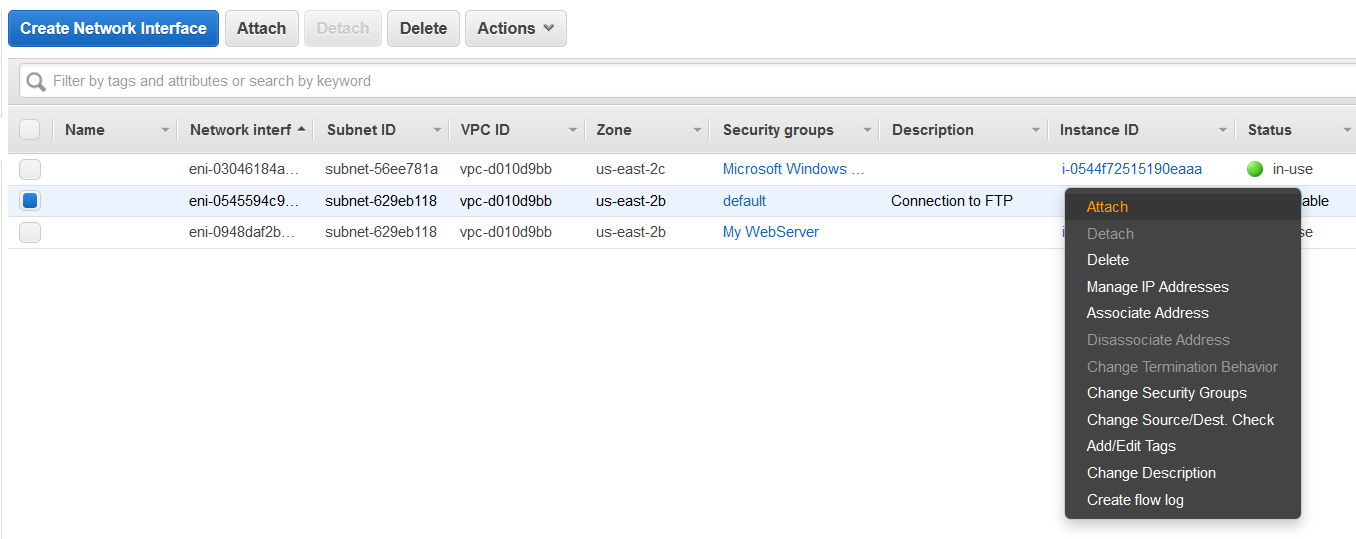
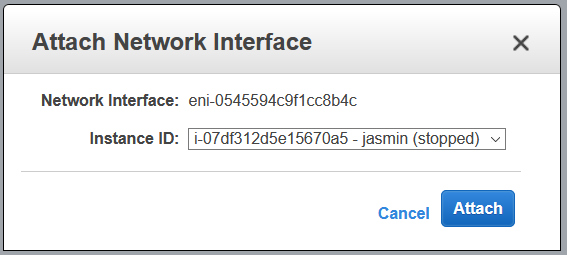
- Under Attach Network Interface choose the instance ID and then click Attach.
- Click on Instances under INSTANCES on the left side of the window
- Right click on your Amazon EC2 instance and then click on Instance State > Start to start your AmazonEC2 instance.
- Click Yes, Start to confirm starting your Amazon EC2 instance.
- Connect to your Amazon EC2 instance and configure network interface card
