How to Fix a Black Screen on Your Chromebook
Encountering a black screen on your Chromebook can be a frustrating experience, particularly when you’re unsure of the cause or the solution. This common problem can occur due to a variety of reasons, ranging from minor software glitches to more complex hardware issues. Whether you’re faced with a black screen after an update, during use, or simply when you try to turn on your device, don’t worry—most of the time, this issue can be resolved with a few troubleshooting steps. In this guide, we’ll walk you through a comprehensive set of instructions to help you identify the root of the problem and get your Chromebook back to its functional state.
Before diving into more complex troubleshooting steps, ensure your Chromebook is indeed powered on. A simple check is to look for any status lights that indicate power. If the screen is black, it could be that your device is asleep or turned off due to inactivity or battery-saving settings. Briefly press the power button to wake it up or hold it for a restart if you suspect it has shut down unexpectedly.
Inspect your charger and power connection. If there’s no charging light when your Chromebook is plugged in, try using a different charger if one is available. Incompatible or faulty chargers can cause power issues that may result in a black screen. Always ensure the charger is the one provided with your Chromebook or an approved replacement from the manufacturer.
If your Chromebook has been exposed to high temperatures, it could be protecting itself with an automatic shutdown. Move your device to a cooler environment and allow it to cool down before attempting to power it on again. This can resolve issues of the device overheating, which might also manifest as a black screen.
Be cautious with experimental features in Chrome Flags, as these can sometimes cause display issues. If you have previously enabled any flags, try resetting them to default by typing chrome://flags into the address bar and clicking on ‘Reset all to default’. This can reverse any settings that may be causing the black screen problem.
In rare cases, the machine displays a boot loop. Some people encounter a black screen after logging into the system, while others experience it during boot. Before you begin, press the brightness-up key; this could potentially resolve the issue. A black screen may appear on the Chromebook if the brightness is too low.
Important Note: If your Chromebook is under warranty, it’s highly recommended that you simply take the Chromebook back to the manufacturer and claim your warranty instead of trying anything before hand and getting your warranty revoked.
Further Troubleshooting Techniques:
1. Switch the Chromebook to Tablet Mode
Sometimes reinitializing the display modules by switching to tablet mode can resolve black screen issues.
- Flip the CB’s hinge over the screen. See if the screen turns on.
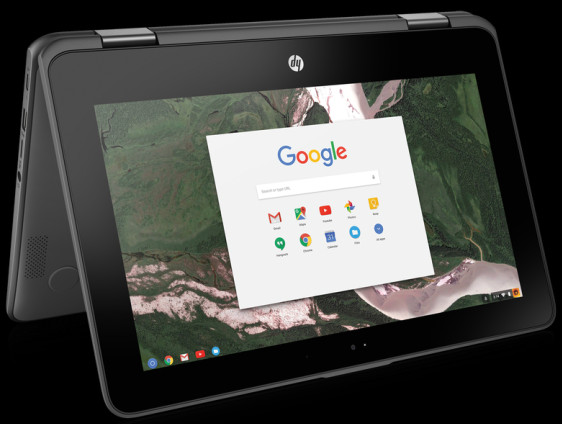
Put Chromebook in Tablet Mode - If so, switch it to regular mode and verify if the problem is solved.
2. Try Different Restart Methods
Various restart methods can remedy a black screen caused by a failed boot or power issue. Note that some of these methods may affect your local data.
Please note, some methods may delete data in the Downloads folder. If any essential files are stored there, backup or check their availability in an alternate location.
Press and Hold the Power Button
- Press and hold the power button of the Chromebook.
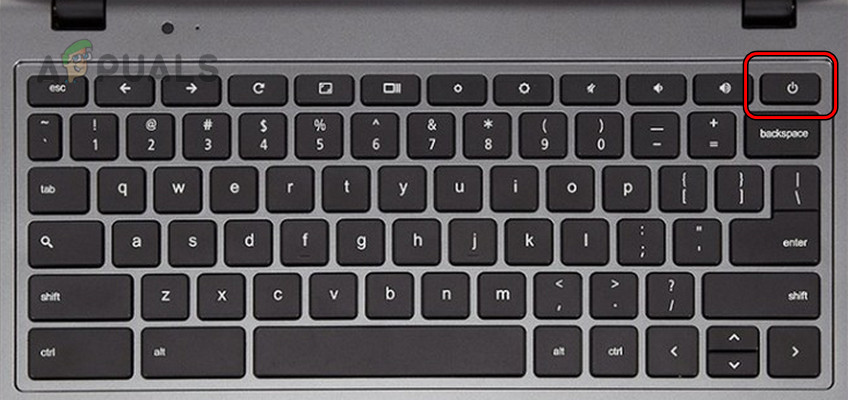
Press the Power Button on the Chromebook - Wait for 30 seconds and see if the CB turns on.
- If not, release the button and press the power button again. Check if the Chromebook boots and does not get stuck on the black screen.
Use the Power and Refresh Keys
- Press the power button on the Chromebook and wait till its lights are off.
- Press/hold the Refresh and Power buttons.
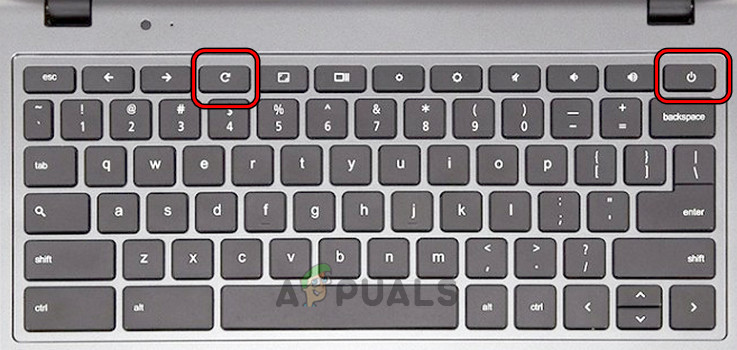
Press the Power and Refresh Keys on the Chromebook - Once the machine boots, release Refresh and then release the power button.
- If the CB does not boot, press the power button again and see if it powers on correctly without getting stuck on the black screen.
Use the Power, ESC, and Refresh Keys
- Press and hold the power button.
- While holding the power button, tap on the ESC key and then on the Refresh key.
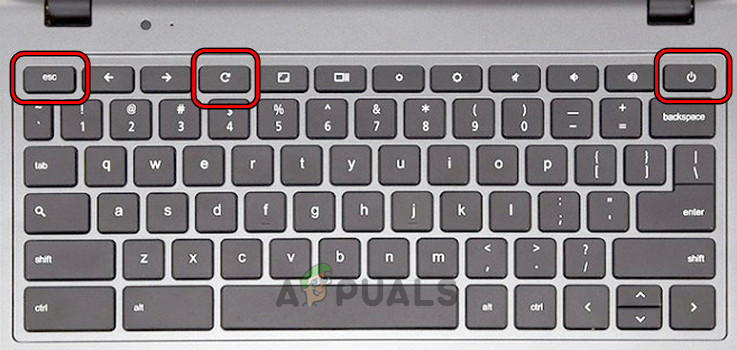
Press the Power, Refresh, and ESC Keys of the Chromebook - If the machine boots, keep on holding the power button till the CB turns off.
- Tap on the power button and see if it is working correctly.
Use the Ctrl and D keys
- Press and hold the following keys:
ESC

Refresh

Power
- Release keys and hit Ctrl + D.
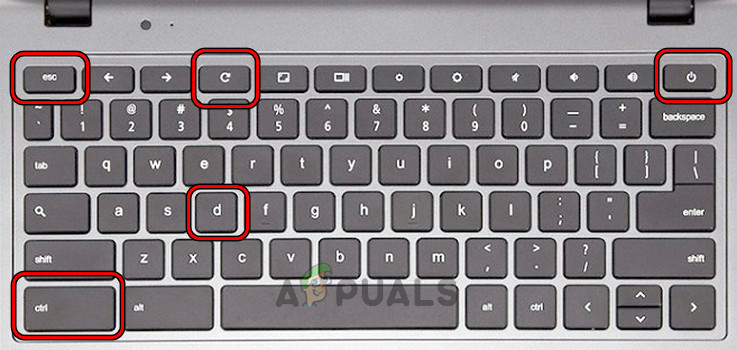
Press Ctrl and D Keys on the Chromebook - Hit the Enter key twice and see if the problem is solved.
Power on the Chromebook After Plugging it in
- Connect the charger to the Chromebook and press/hold the following keys:
Power

Refresh
- While holding these keys, unplug the power adapter and wait for a minute.
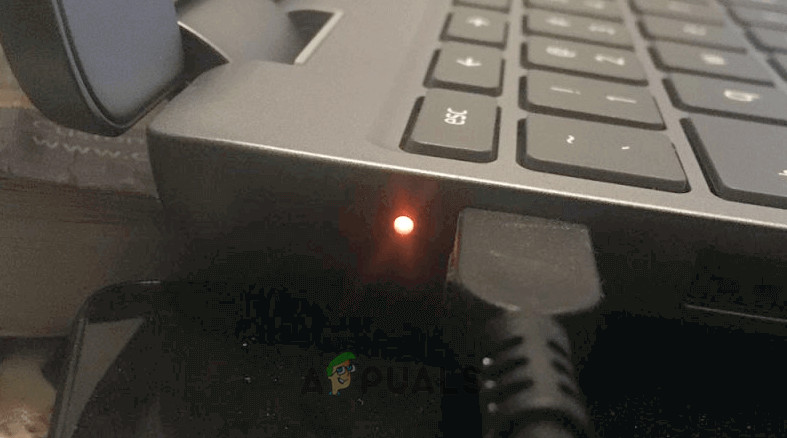
Put the Chromebook on Charging - Release the keys and wait for a minute.
- Press the Power button and verify if the CB has powered on without showing the black screen.
Try the Ctrl + Shift + Q Keys
- Press the Ctrl + Shift + Q keys and hold the power button.
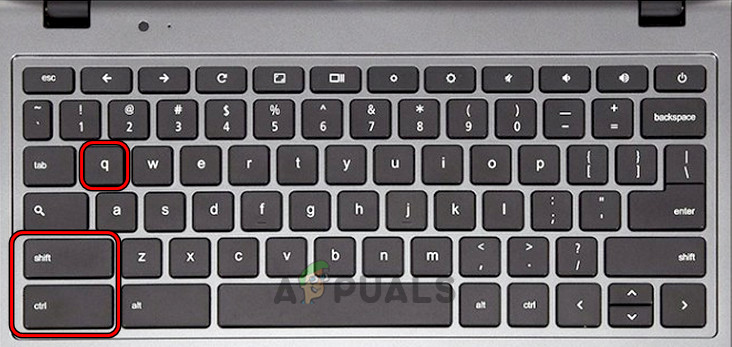
Press the Ctrl, Shift, and Q Keys on the Chromebook - Wait till the machine powers on and the black screen is no longer shown.
Restart the Chromebook After Charging it
- Put the Chromebook on charging and wait for 30 minutes.
- Flip the lid down and up.
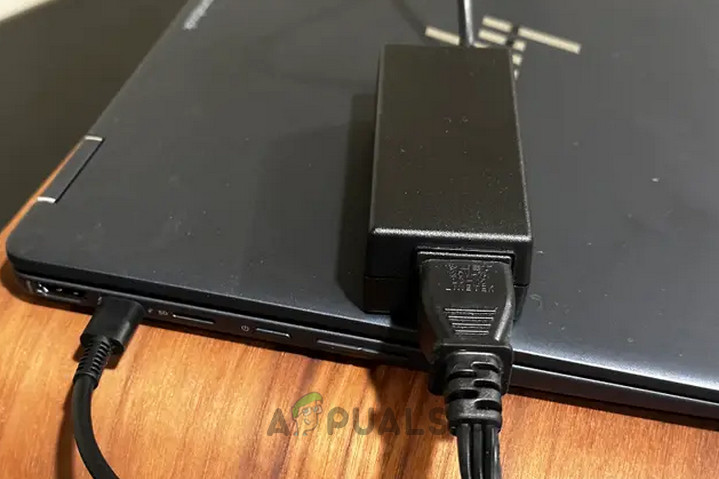
Put the Chromebook on Charging - Press the power button and see if turns on without showing the black screen.
- If not, put the Chromebook on charging overnight, and the next morning, power on the Chromebook. Check if the issue is fixed.
Advanced Troubleshooting:
3. Update the Chromebook’s OS
If your Chromebook’s OS is outdated, it could lead to incompatibility with some applications or services, which may manifest as a black screen issue. To remedy this, an OS update is necessary to address any potential bugs.
Important: Before you start this process, if your Chromebook’s screen is not displaying anything, you will need to connect it to an external monitor to follow the steps below. Once connected, you can toggle mirroring by pressing the CTRL + Full Screen keys.
- Click on Time in the bottom right and go to Settings > About Chrome OS.
- Select Check for Updates and install the available updates.
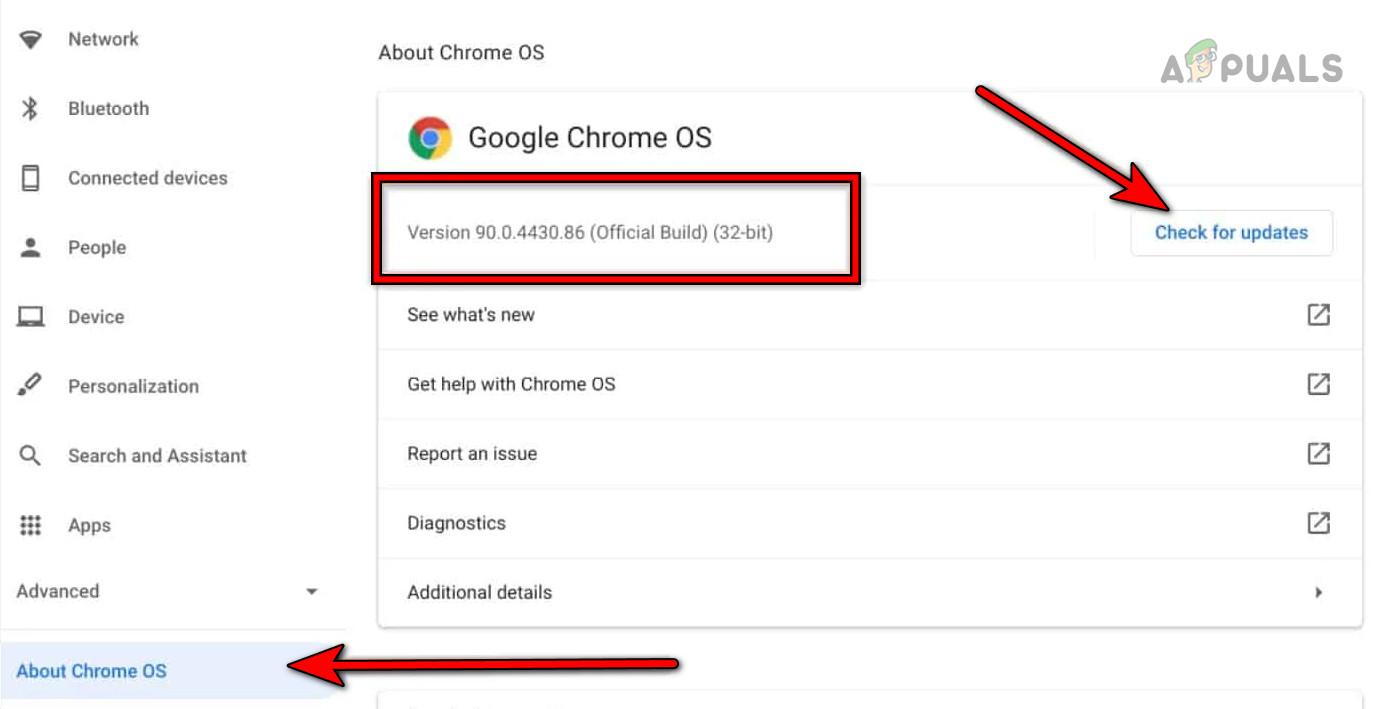
Update Google Chrome OS - Restart the device and see if the built-in screen is no longer black.
4. Uninstall the Conflicting App
If certain apps, like Facebook Messenger, are causing issues, uninstall them. This may require an additional monitor for visibility.
- Open the Launcher and right-click on the Facebook Messenger.
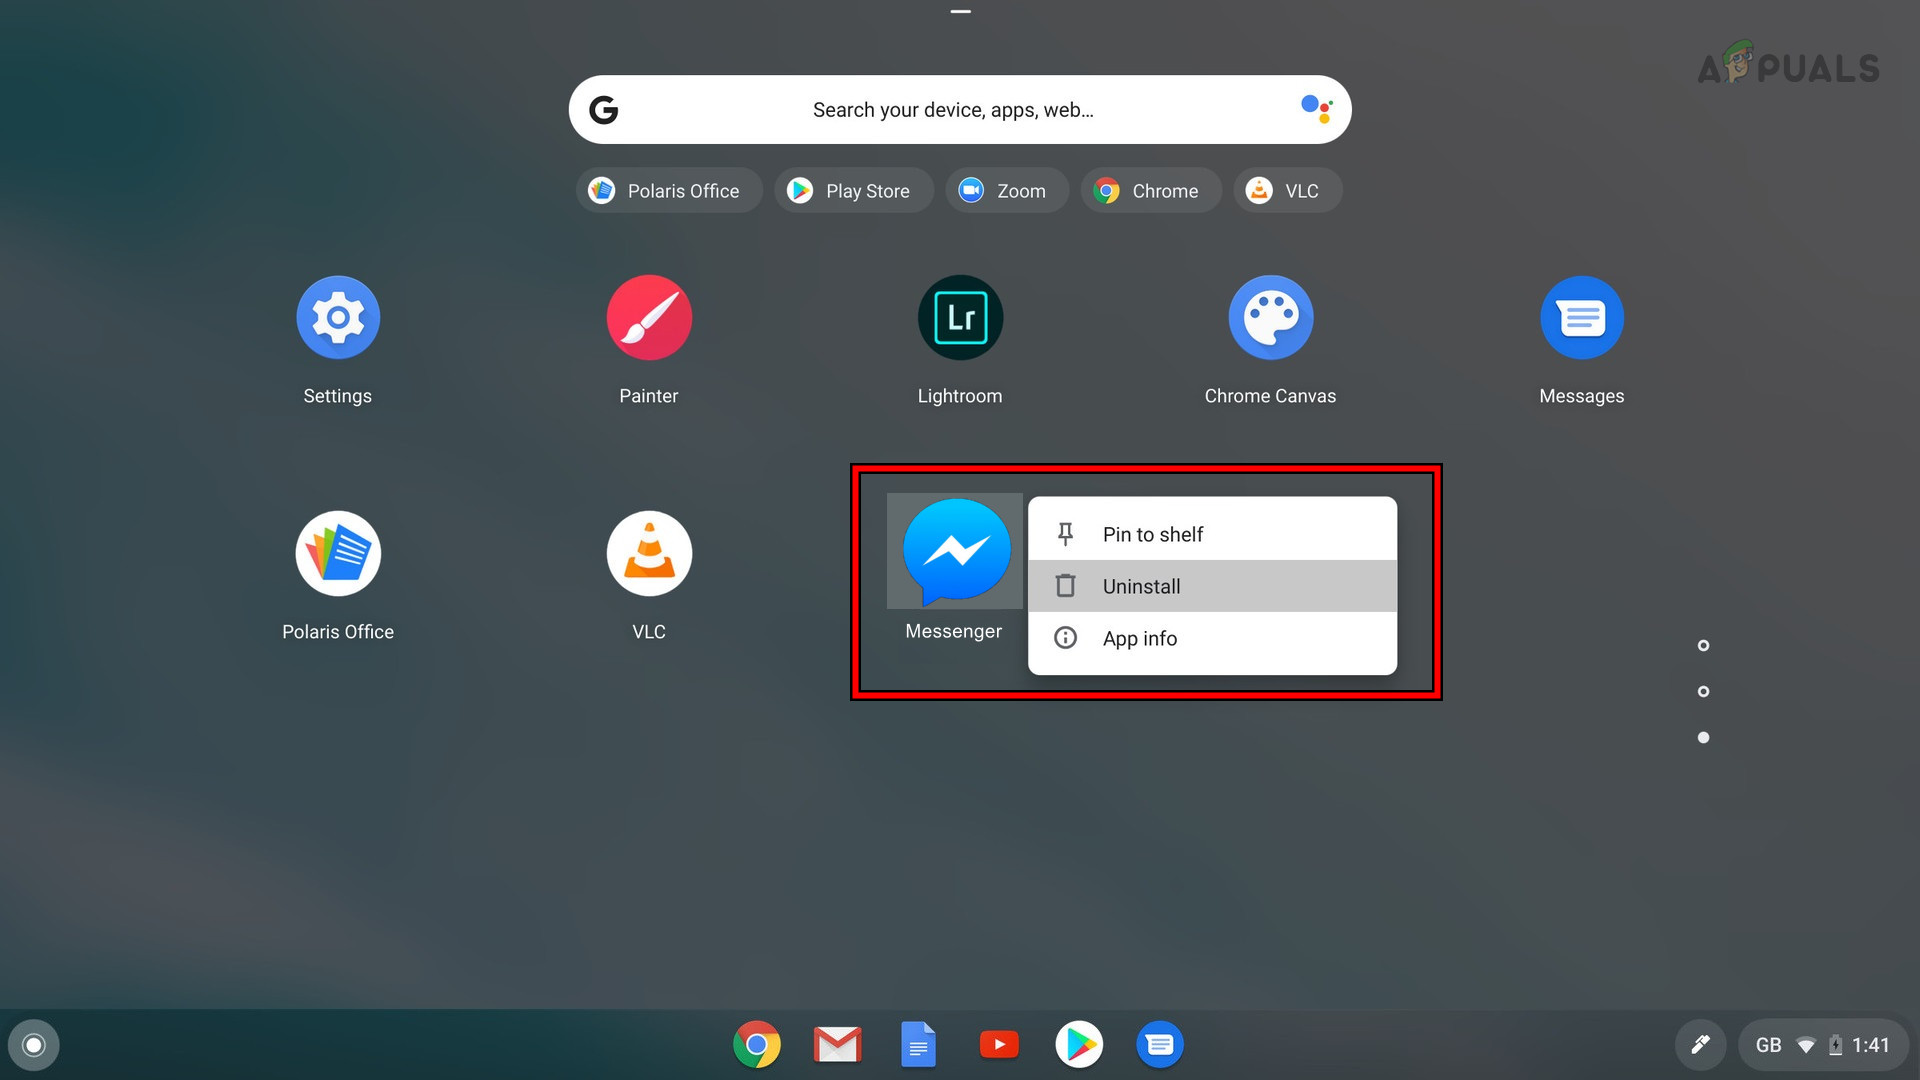
Uninstall Facebook Messenger - Select Uninstall and confirm to uninstall the app.
- Restart the device and see if the issue is resolved.
5. Disconnect the Chromebook’s Battery
A hardware reset by disconnecting the battery can solve persistent issues. Caution: Only perform this if you have the necessary expertise or seek professional help.
- Remove the charging cable from the Chromebook.
- Place the Chromebook upside down and remove the screws from the back.
- Flip the Chromebook and dislodge its keyboard.
- Disconnect the keyboard from the motherboard and disconnect the battery’s power cable from the motherboard.
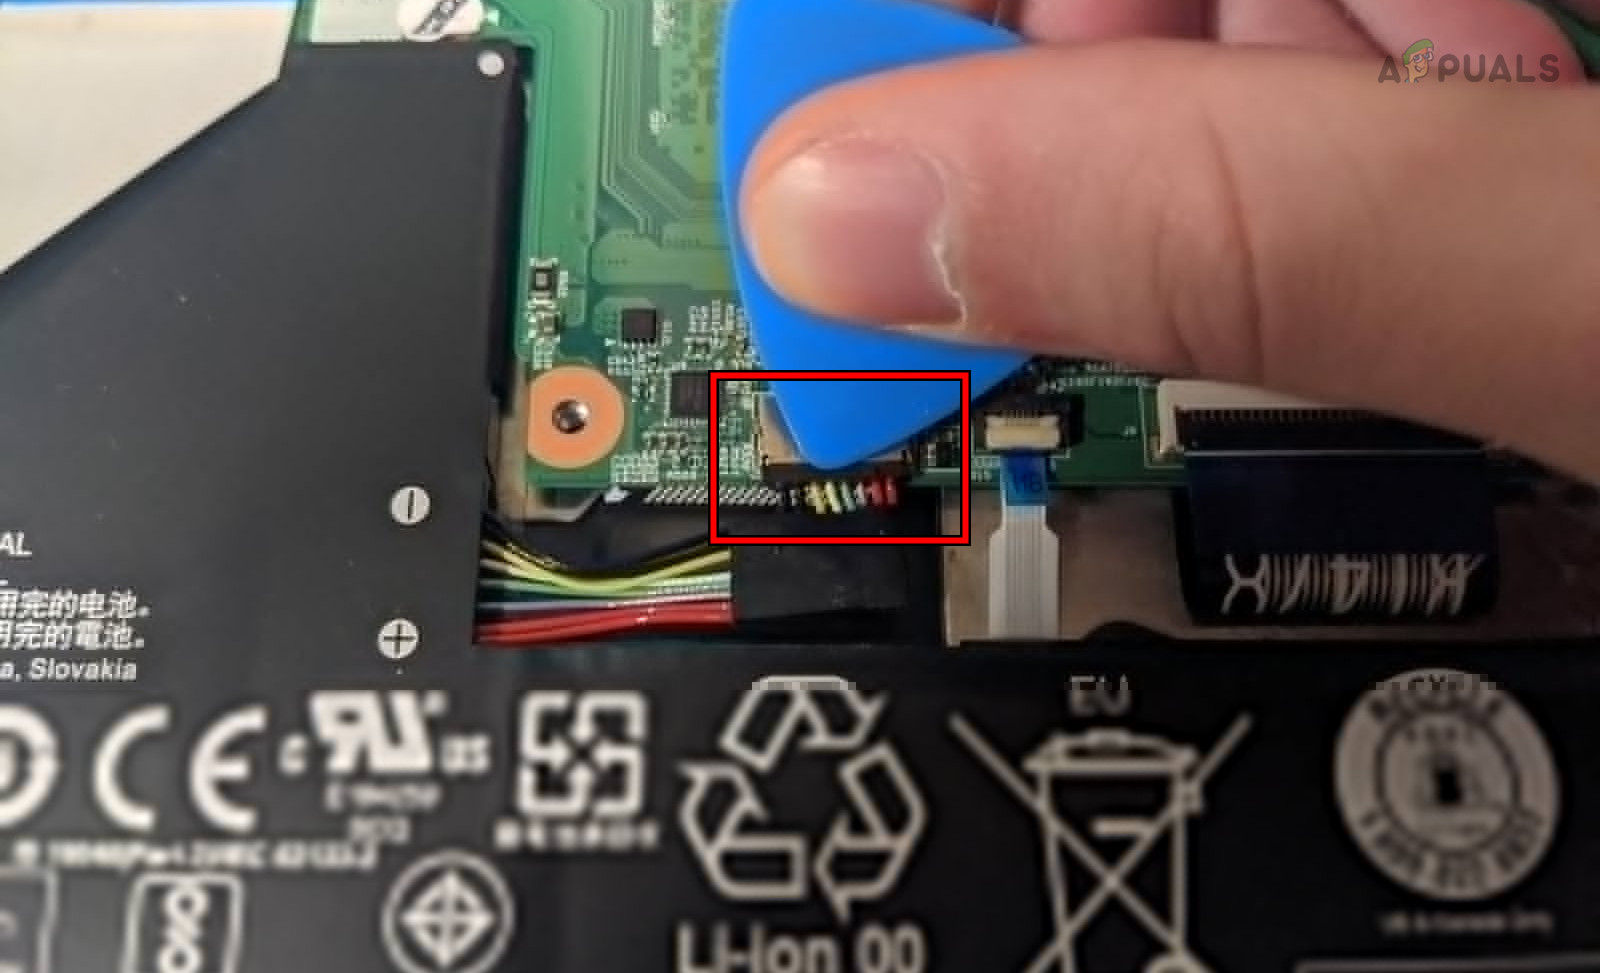
Disconnect the Battery of the Chromebook - Press and hold the power button for a minute.
- Without connecting the battery, plug the charger and press the power button. Check if the Chromebook turns on without showing the black screen issue.
- If so, power off the device and unplug the charger.
- Connect back the battery and keyboard.
- Flip the Chromebook and tighten the screws on the back.
- Flip the device and power it on. See if it is working correctly.
6. Reseat the Graphics Cable of the Chromebook
A loose graphics cable can cause display issues. Warning: Handle internal components with care or seek assistance.
- Open the Chromebook and disconnect its keyboard/battery. These steps are covered in the above solution.
- Disconnect the graphics cable from the motherboard (near the fan) and plug back the cable.
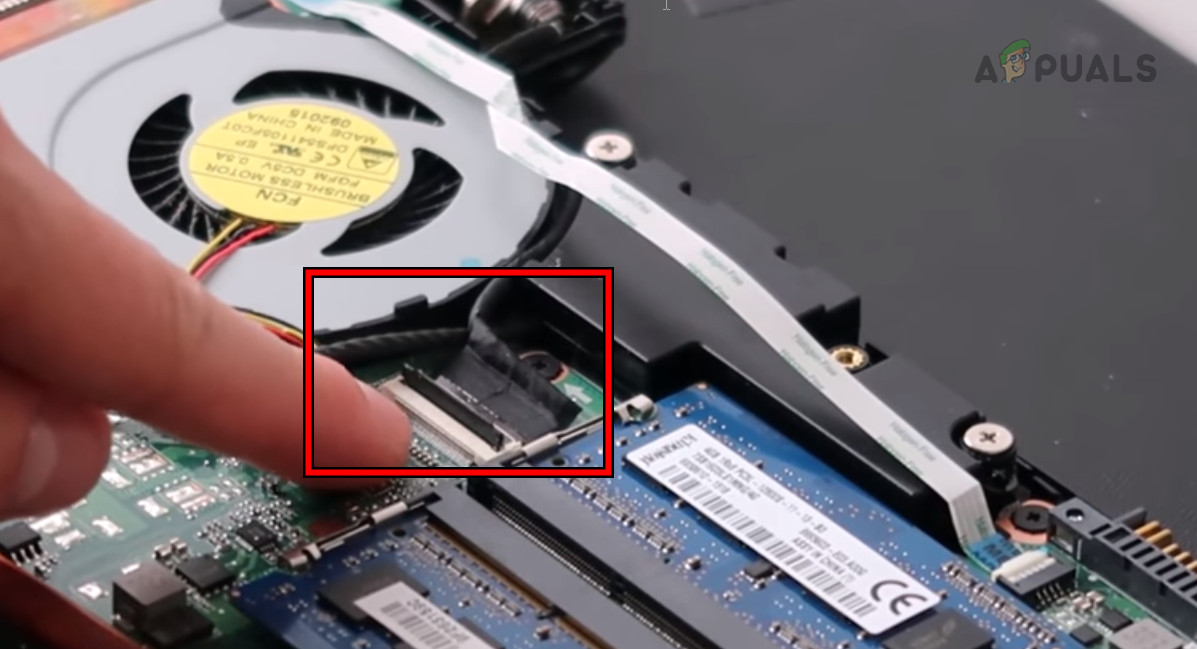
Reseat the Graphics Cable of the Chromebook - Make sure it is correctly seated and connect the battery/keyboard.
- Close the Chromebook and power it on. Check if it is operating properly.
Last Resorts:
7. Clean the Internals of the Chromebook
Dust or debris can cause short circuits. Use compressed air to clean inside, but only if you are confident in opening up your device.
Only try this method if you have the tools and skills to perform these actions.
- Open the Chromebook and disconnect its keyboard/battery (as discussed above).
- Grab a Compressed Air Can and use it to blow air on the motherboard.
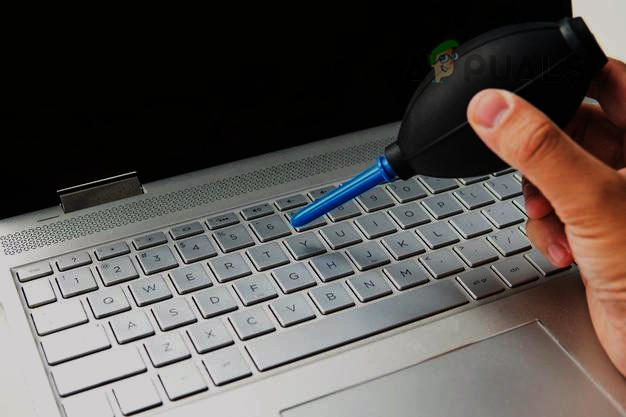
Clean the Chromebook - Make sure the device’s internals/externals are clean and connect the battery/keyboard.
- Reseat all the components and cables.
- Close the Chromebook and power it on. See if it is clear of the black screen problem.
8. Factory Reset the Chromebook Through Recovery
As a last resort, use a recovery USB drive to factory reset your Chromebook. This will erase all local data.
- Disconnect all the peripherals from the Chromebook and press/hold the following buttons:
ESC

Refresh
- Press the Power button and when the screen shows a message, release the keys.
- Insert a USB flash drive into your Windows or Mac system. Make sure the drive is empty and does not have any data.
- Launch Chrome and Install Recovery Extension.
- Open the Recovery Extension and click on Get Started.
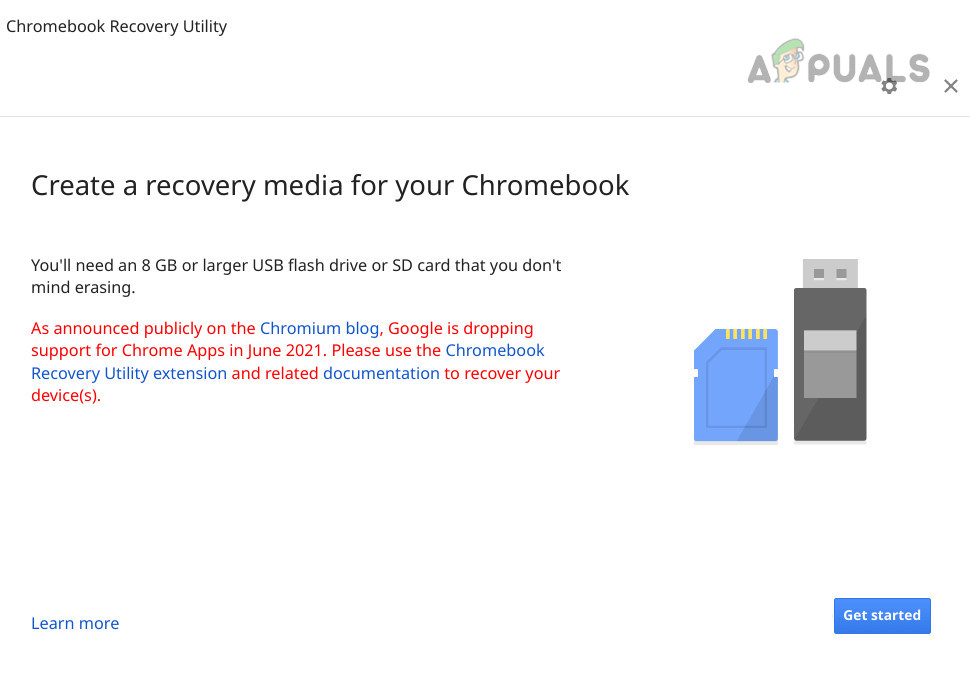
Create a Recovery Media for Chromebook - Follow the on-screen prompts to create a recovery disk.
- When you get the message that the recovery media is ready, remove the USB from the system.
- Insert the USB into the Chromebook and select Recover Using External Disk.
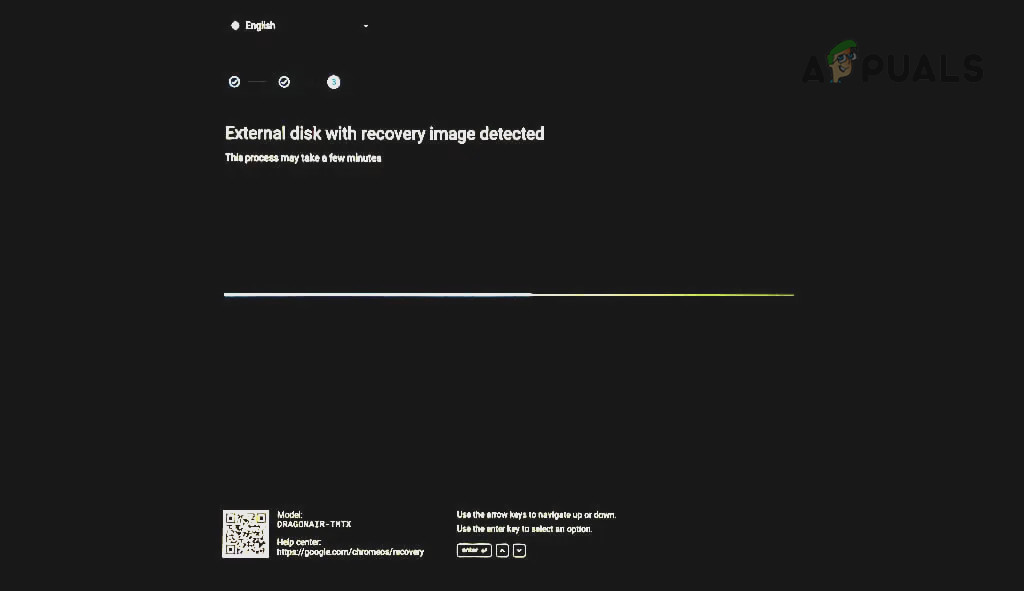
Recover the Chromebook Through the USB - Follow the prompts on the screen and once the recovery is done, update the Chromebook. Hopefully, this will clear the issue.
If you want to disable any future recurrence of the issue, check the sleep and screen saver settings of the Chromebook. You may even revert them to the defaults.
If the issue continues despite trying all the above solutions, it may be hardware-related. Have it inspected. If your Chromebook is under warranty, you can request a replacement from Google Support.
Remember, while a black screen can be concerning, often there is a simple explanation and solution. Don’t panic, follow these steps methodically, and more often than not, you’ll find the issue is resolvable. If you’ve gone through these steps and your screen is still black, it may be time to seek professional help or contact the Chromebook’s manufacturer if your device is under warranty.
