How to Create and Set Up a New Outlook Profile?
Many issues related to Outlook can be resolved effortlessly by starting anew with a fresh profile. Outlook operates through profiles, which encompass all your information, such as your emails and other existing data.
There are several reasons you might need to create a new profile. A common reason is the desire to segregate personal from work emails. Furthermore, if you’re experiencing functionality problems with Outlook, establishing a new profile often rectifies the issue.
Note: The steps provided may differ slightly depending on the version of Outlook you are using (e.g., Outlook 2010, 2013, 2016, 2019, Office 365/Outlook for Microsoft 365).
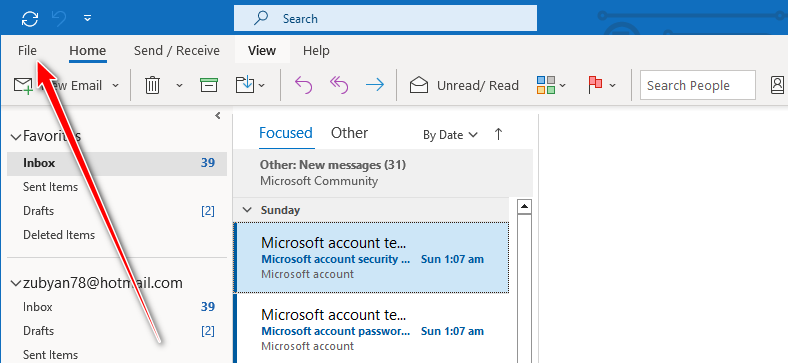
- Launch Outlook and click on File.
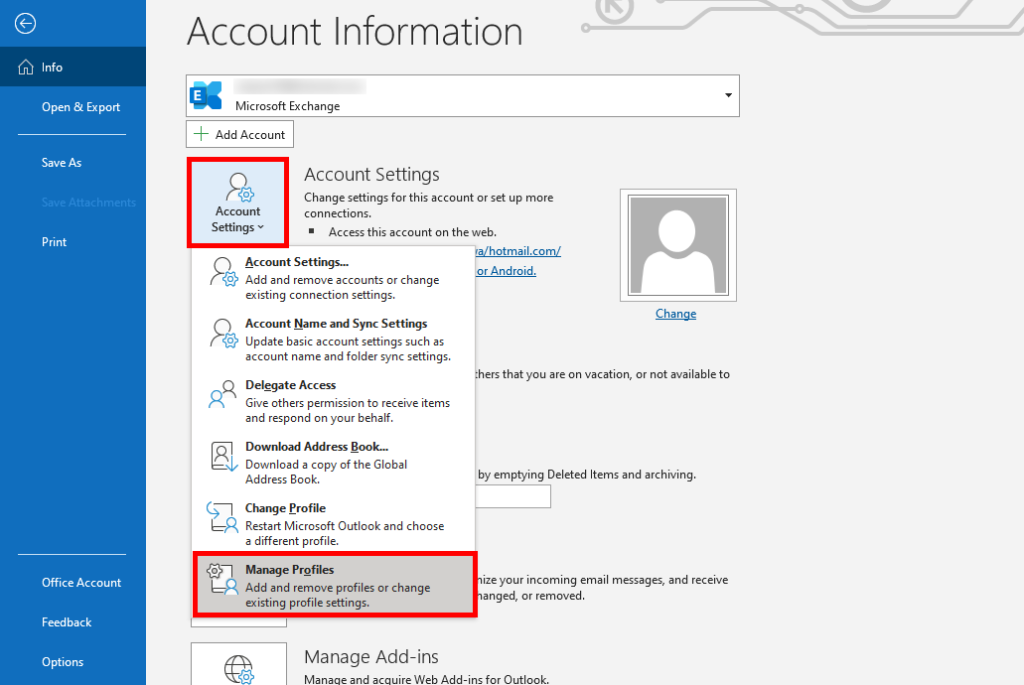
- Choose Account Settings > Manage Profiles.
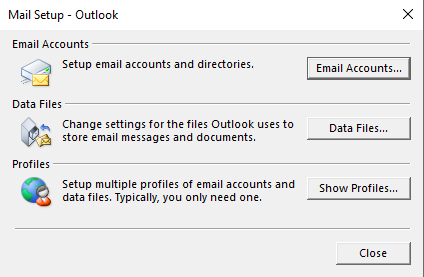
- Select Show Profiles.
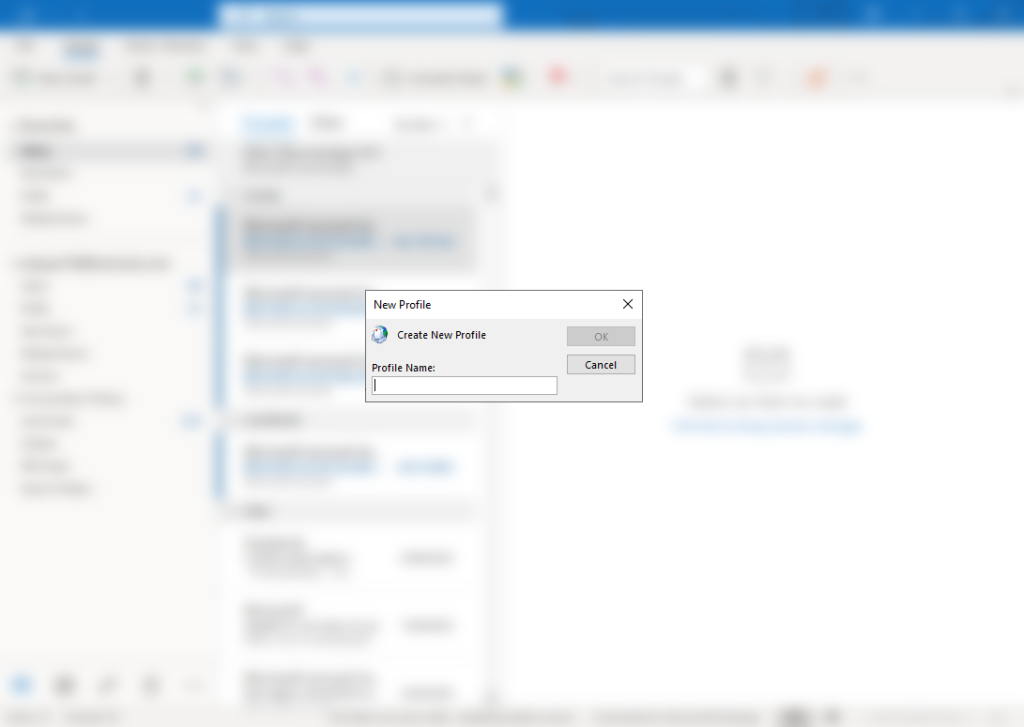
- Click Add, then name the new profile.
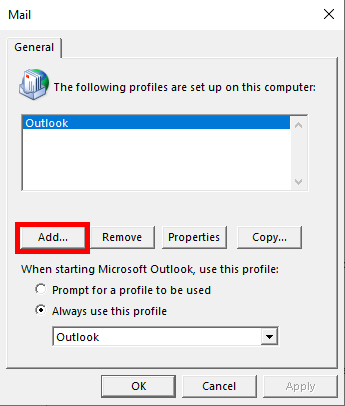
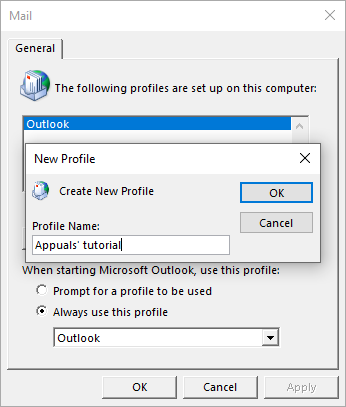
- Enter the desired name for your profile.
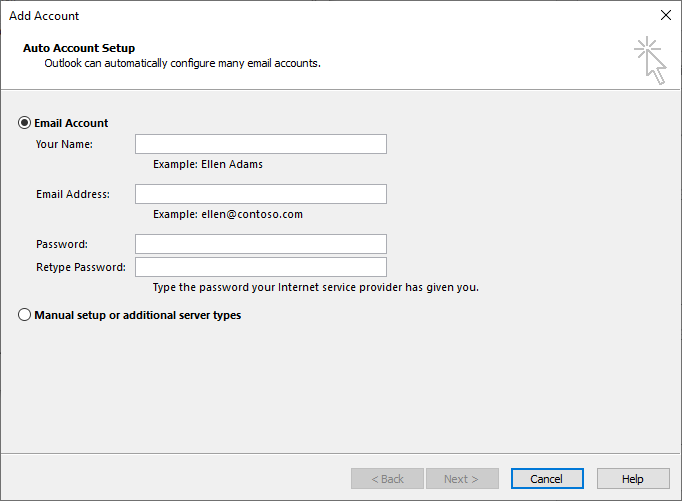
- Opt for automatic profile creation by selecting the Email Account option, or choose Manual Setup to create IMAP or POP profiles with additional settings manually.
- Provide your name, email address, and password, then click Next.
- After profile creation, click Finish.
- Now, select the “Always use this profile” option to designate a default profile for Outlook to open every time. Alternatively, choose the “Prompt for a profile to be used” option if you prefer Outlook to ask which profile to use each time it opens.
If you encounter difficulties at any step while creating the profile, please share your concerns in the comments below. One of our team members will assist you in resolving the issue.