How to Craft & Use A Minecraft Beacon [Ultimate Guide]
- Beacons are structures granting buffs in a specific area, used as landmarks, and require significant resources to build, including a tough boss fight.
- To craft a beacon, you need 5 glass blocks, 3 obsidian blocks, and a Nether Star. The beacon must be placed on a pyramid made of iron, gold, diamond, emerald, or netherite blocks.
- Beacons offer various buffs depending on the pyramid's size, with a maximum of two buffs per beacon. The range and effect of these buffs depend on the pyramid layers. Beacons also can be customized by changing the light color using dyed glass panes.
Towards the end of your Minecraft journey, you’ll find yourself more focused on building whatever you want, as you’ll more or less have access to every material in Minecraft. Well, if you’re up for a real challenge, you might be interested in crafting a beacon. What’s that, you say? Well, read on and find out!

Table of Contents
What are Beacons and What Do They Do?
Beacons are structures that are erected by a player to grant them buffs. Beacons are extremely useful, as they can serve as a marker for important places in the world, grant you buffs in a specific area, and look pretty cool too. However, if you want to craft one for your base, you’d best be prepared to spend a large number of resources, along with facing tough enemies and a boss fight too.
READ MORE: How to Install Minecraft Mods on PC and Mobile ➜
How to Craft a Beacon
We’ve mentioned previously that making a beacon is no joke and that it requires a lot of effort and resources. Here’s what you need to craft a beacon along with its recipe:
- 5x Glass
- 3x Obsidian
- A Nether Star
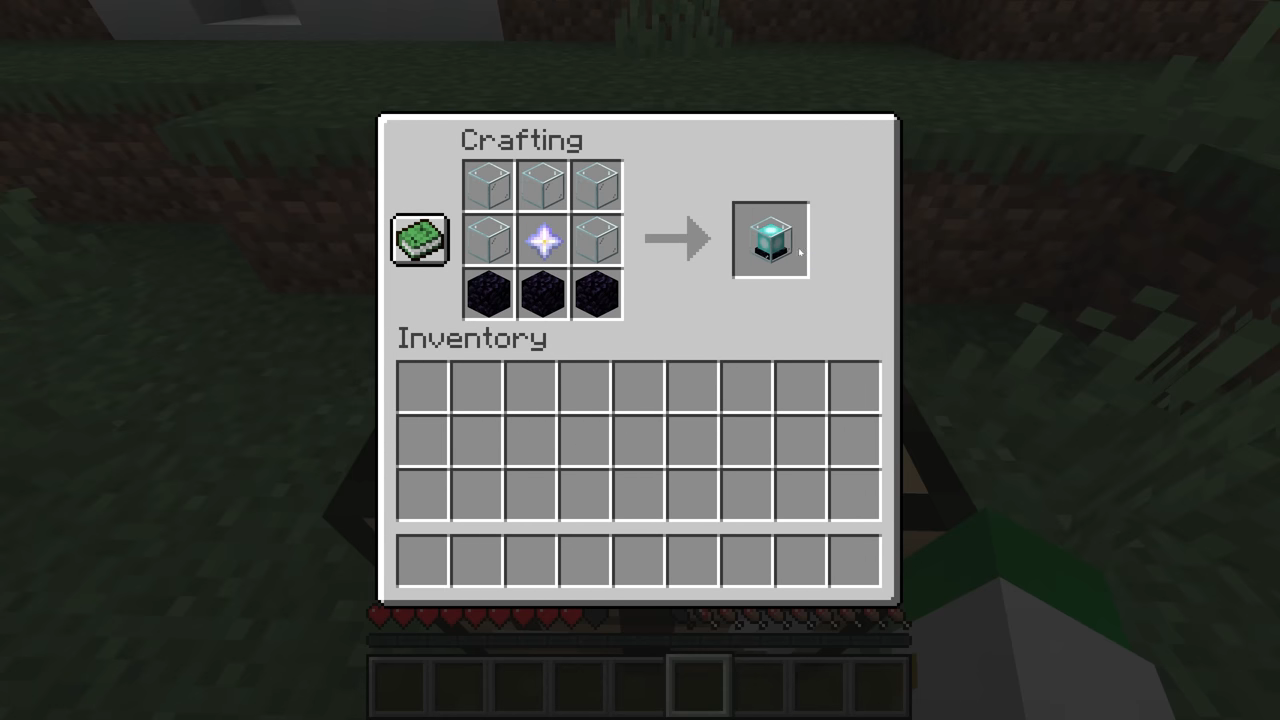
Besides these 3 essential components, you’ll also need a large amount of blocks made from any 1 of the following 5 ores:
- Iron
- Gold
- Diamond
- Emerald
- Netherite
Procuring the Components
In this section, we’ll be outlining how to obtain each of the components mentioned above.
1. Glass
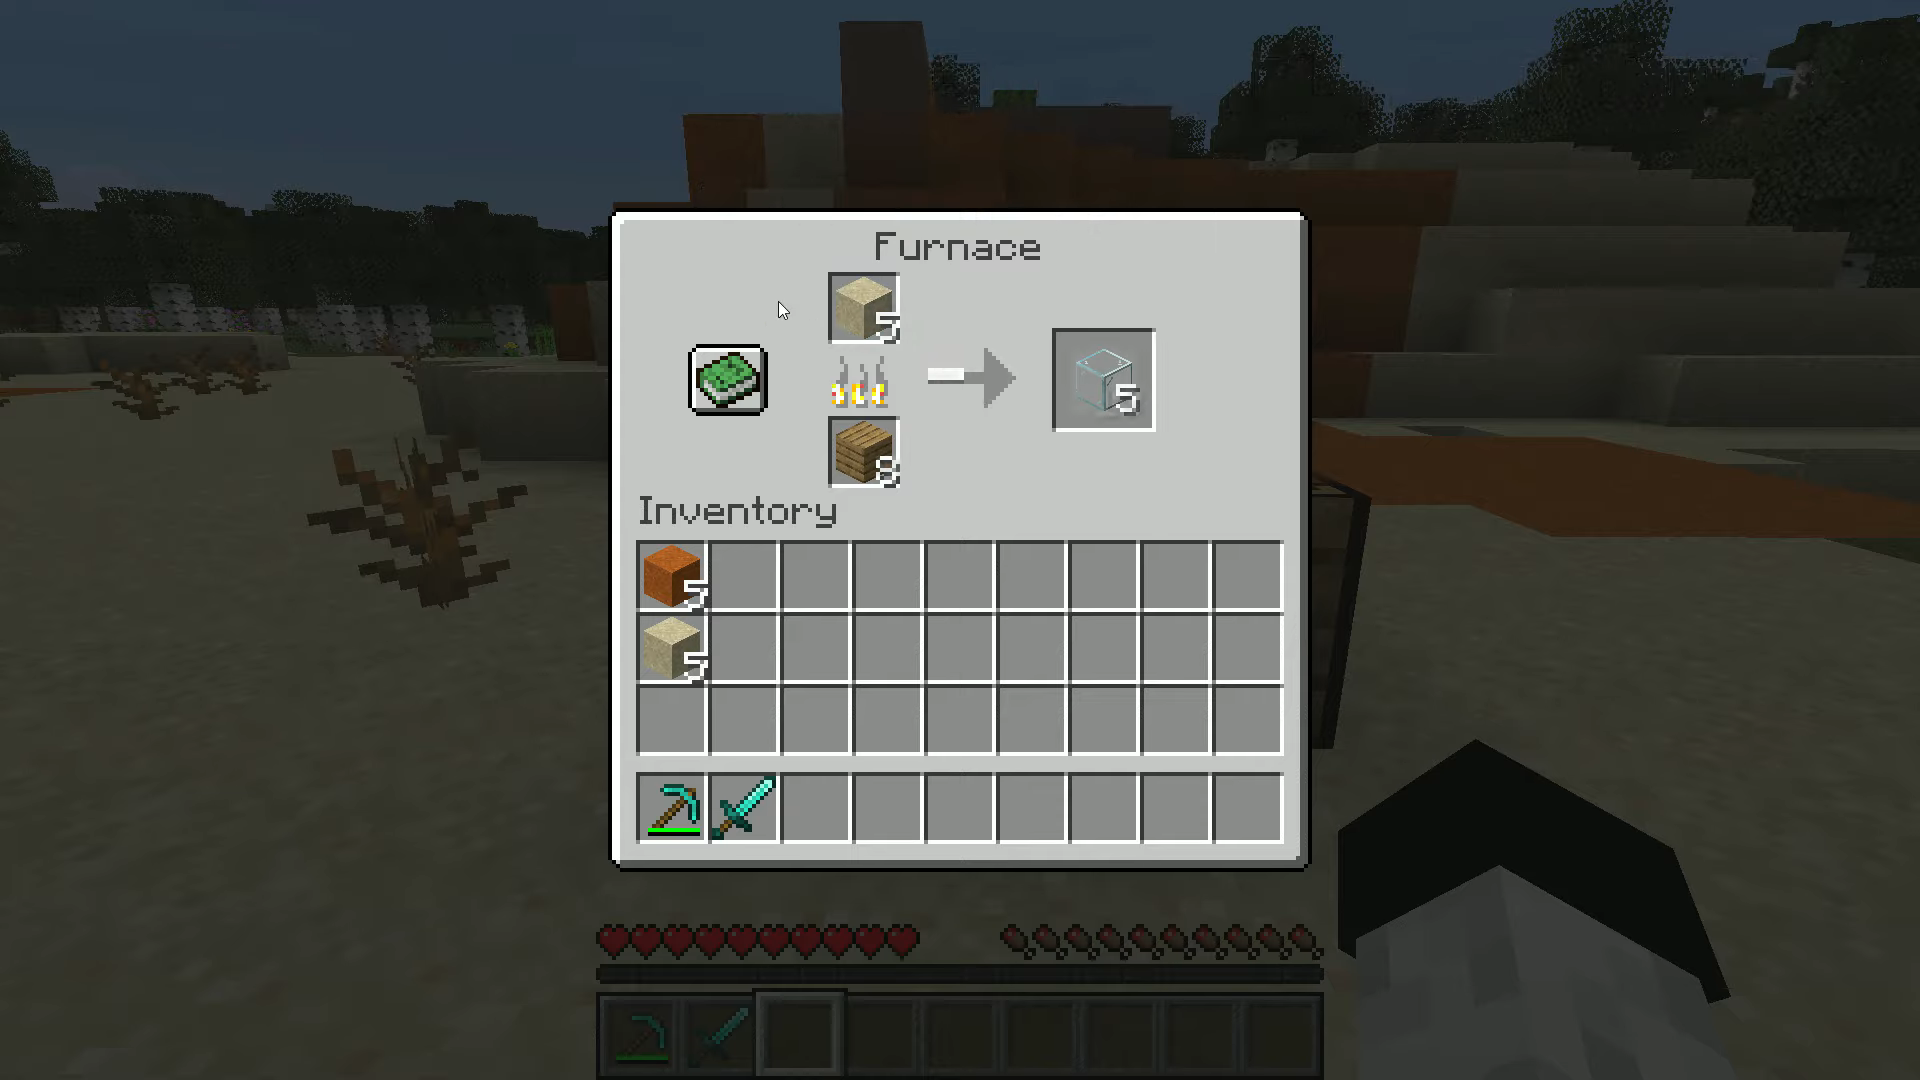
On this list, after some of the ores, glass is probably the easiest material you have to acquire. The simplest method of obtaining glass is to craft it by smelting sand blocks. Open up the Furnace menu, add some fuel in the bottom slot and place the sand blocks in the top slot to receive your glass.
2. Obsidian
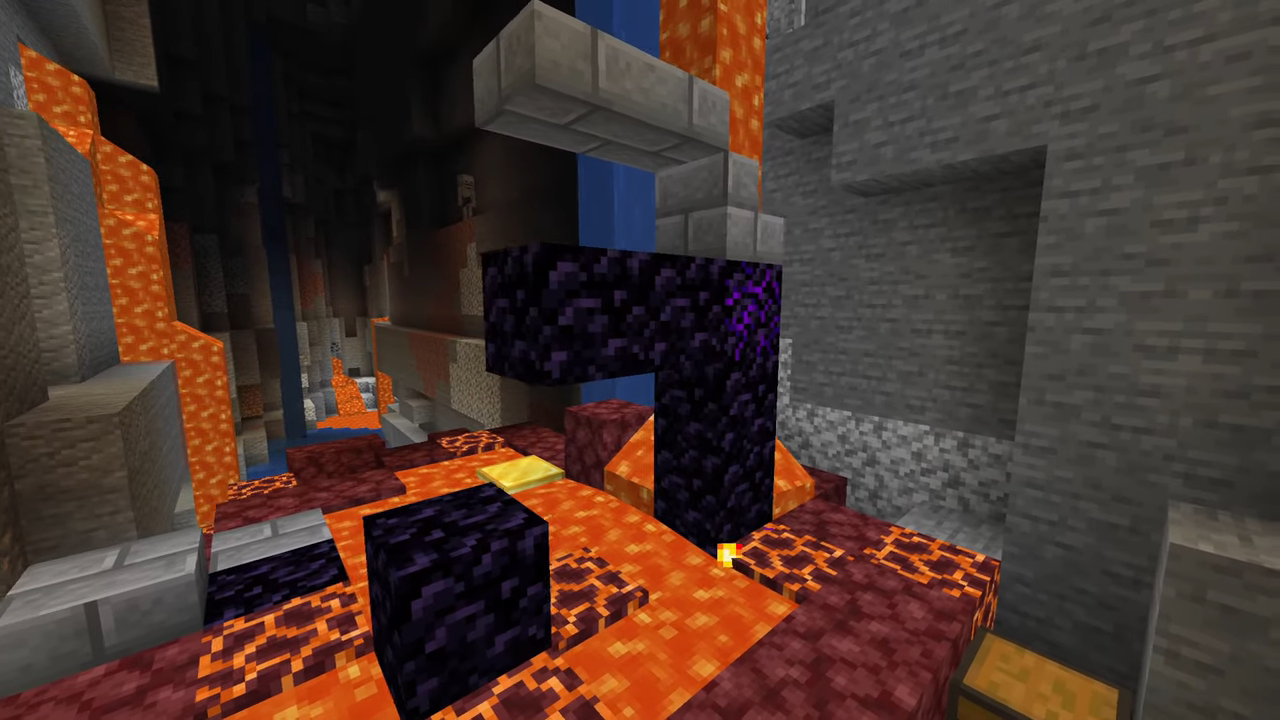
Obsidian can be a bit tricky to acquire. First of all, you need to have either a diamond or netherite pickaxe with you for mining this rare material. Then, you’ll need to head over to the Nether as lava is required for making obsidian. You should also have a reasonable amount of water buckets with you.
Begin digging below until you reach Y level 31 in the Nether. At this point, you should be careful as lava is extremely damaging and one wrong step may mean death. Now pour a water bucket on the block of lava, and begin mining the block, that formed from the reaction between the lava and water, with your diamond/netherite pickaxe. You will receive obsidian.
3. Nether Star
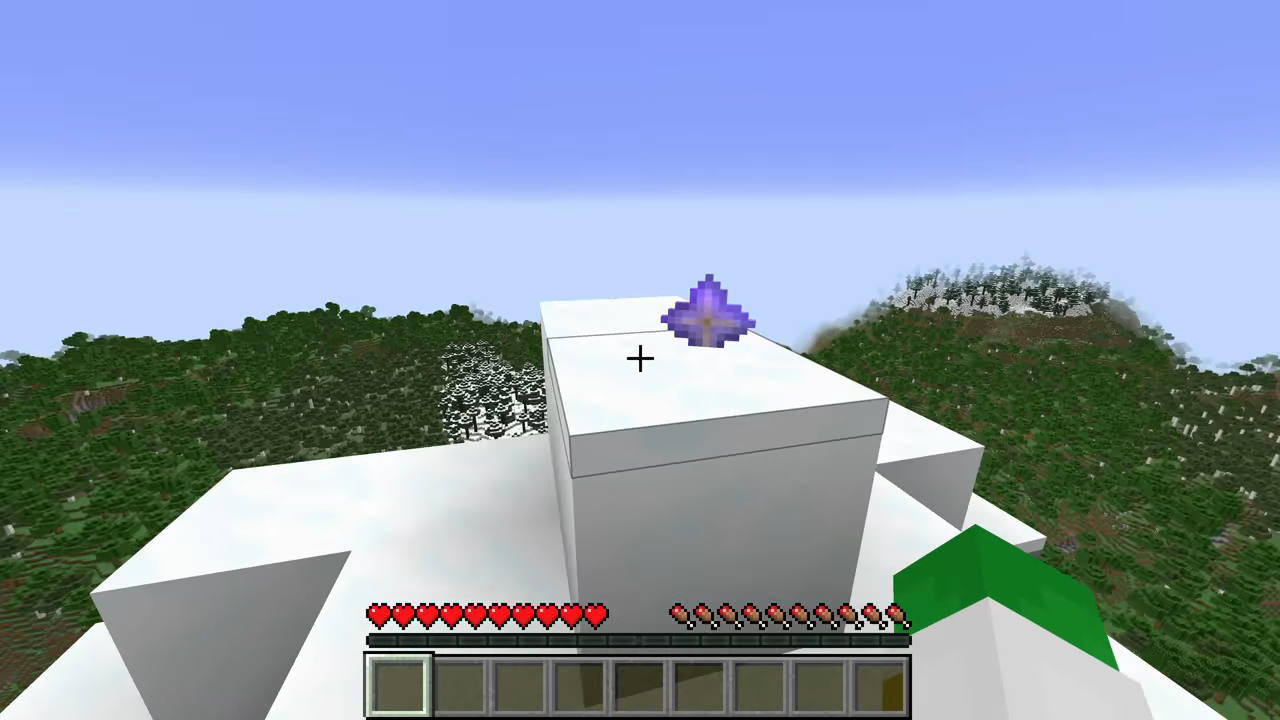
This is, undoubtedly, the most troublesome item to obtain on this list. There’s only one way to get a Nether Star; defeat the Wither, a mob boss that you summon yourself. Here’s what you’ll need to summon the Wither:
- 4 blocks of Soul Sand
- 3 Wither skeleton skulls
↪ Obtaining Soul Sand
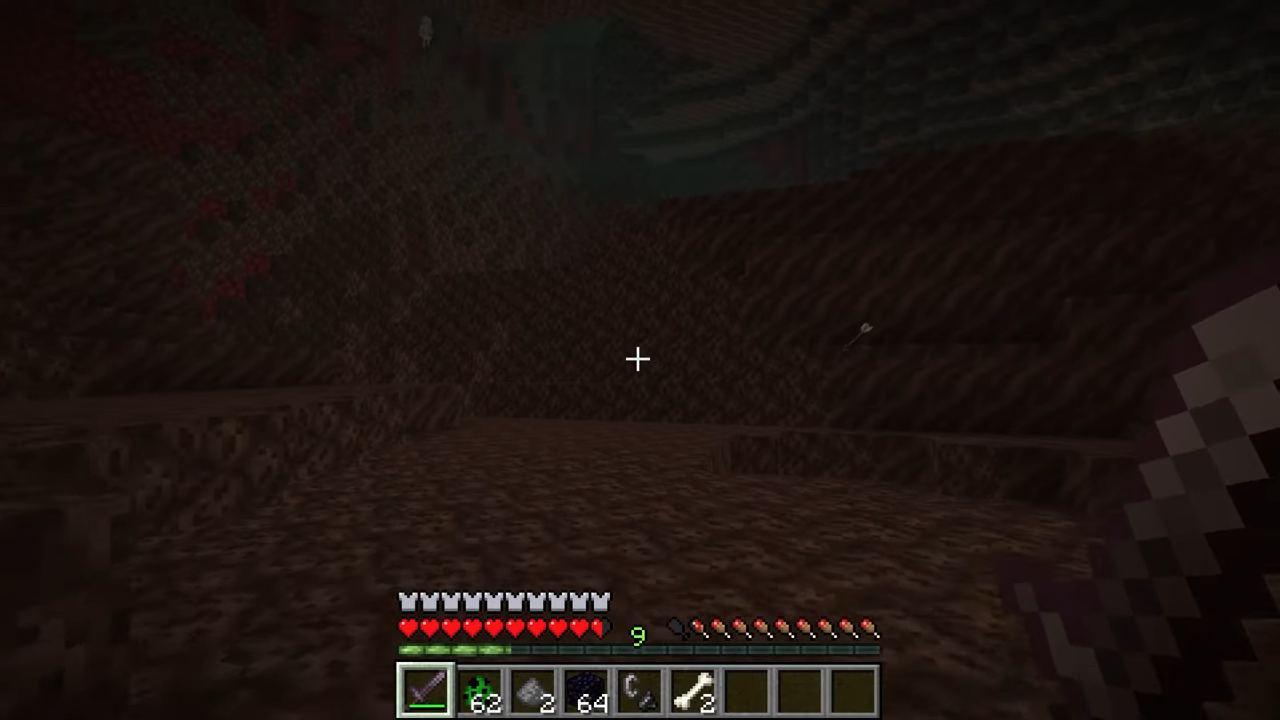
Soul sand can be found in a number of locations. You can find some in ancient cities in the Overworld, trade some from Piglins for a gold ingot, or simply head over to the Nether like you did for obsidian previously. In the Nether, you’ll need to go to either a nether fortress, nether waste, or soul sand valley, and dig till you’re at Y level 34 or below. For soul sand valleys, however you can find some at Y level 0-32.
READ MORE: How To Make A Potion of Weakness in Minecraft [2024] ➜
↪ Obtaining Wither Skeleton Skulls
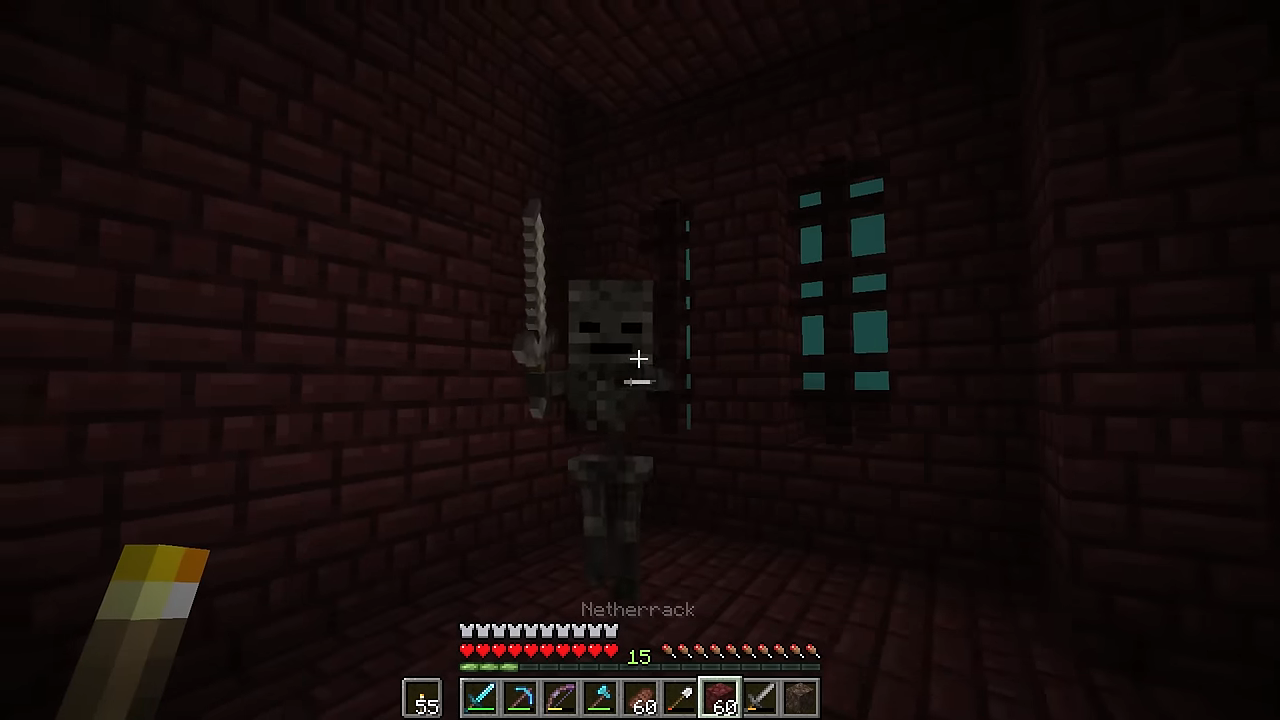
If you decided to hit the Nether fortress earlier, it was a wise decision. That’s because like the Nether Star, you can only get Wither Skeleton Skulls if you defeat Wither skeletons. Even then, the chances of them dropping a skull are relatively low; about 2.5% only.
However, if killed by a charged creeper, it will definitely drop its skull (does not apply to a large mob). Either way, equip a weapon with a Looting enchantment to have a better chance of obtaining a Wither Skeleton Skull. Be careful when fighting them, as they inflict the Wither status effect when they attack you, which causes your health to decrease over time, which is similar to Poison, but this can cause death.
↪ Summoning the Wither
Now comes the final step of obtaining a Nether Star. Since the Wither needs to be summoned manually, it’s best to prepare beforehand, as the Wither is a pretty tough boss-fight. Once the preparations are complete, head to a remote location, with a barren surface, so that there’s room to run around and nothings blocks your way.
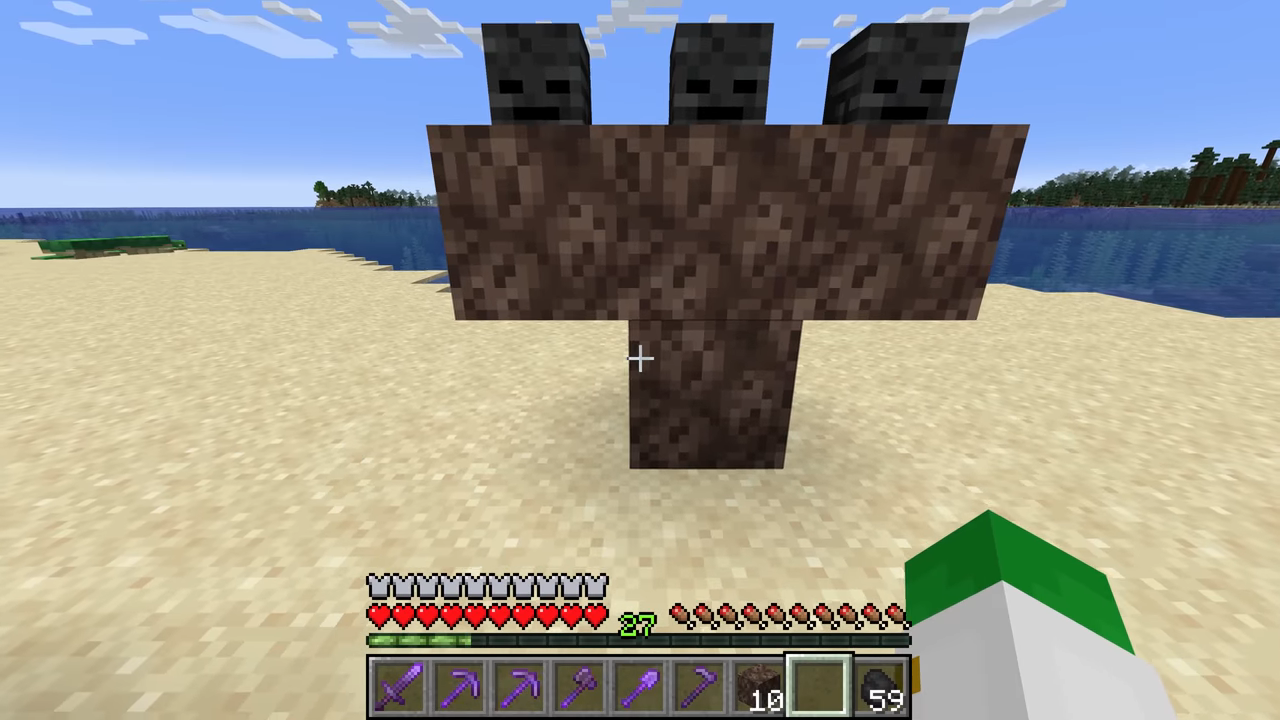
Next, to summon the Wither, make a T-shape with the soul sand block. You can make a T-shape vertically upwards like a building, or horizontally along the ground; it’s up to you. After that, place the 3 Wither Skeleton Skulls directly on top or, or above, the T’s head you’ve formed.
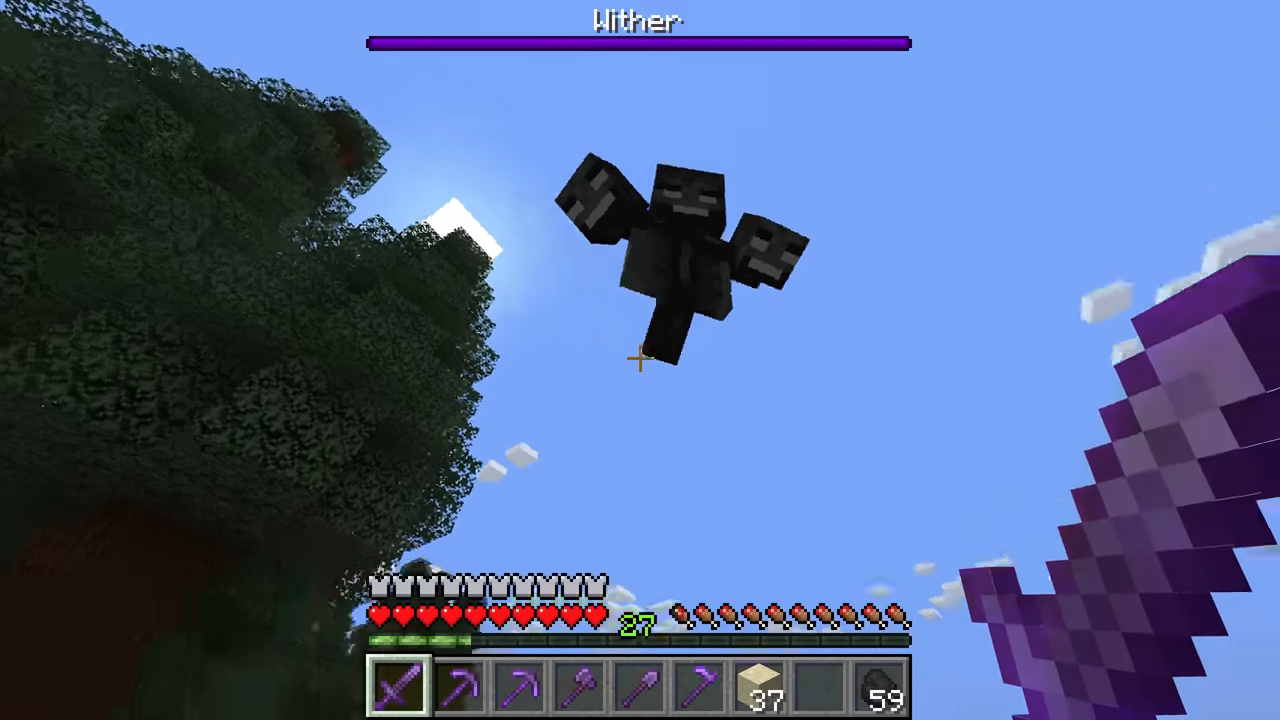
Immediately put some distance between you and that spot, as the Wither is going to appear instantly. Defeat it and claim the Nether Star for yourself.
READ MORE: How To Craft a Compass in Minecraft in 3 Easy Steps ➜
Setting Up the Beacon
You can rest easy now; the hardest part of crafting the beacon is over. Now comes the more tiresome part. In order for a beacon to function, it must be placed on a pyramid platform, with a clear view of the sky. If it does not access to the sky, it won’t work. Remember when we earlier mentioned how you would need large amounts of iron, emerald, gold, diamond or netherite? Well, this is what they were needed for.
Earlier, we also mentioned that only 1 kind of material will be required from the 5 mentioned above. Therefore, you have the option of choosing the materials you’ll use in making the pyramid. The rarity and quality of the material won’t affect the beacon’s bonuses e.g. using netherite over iron will not grant any advantages.
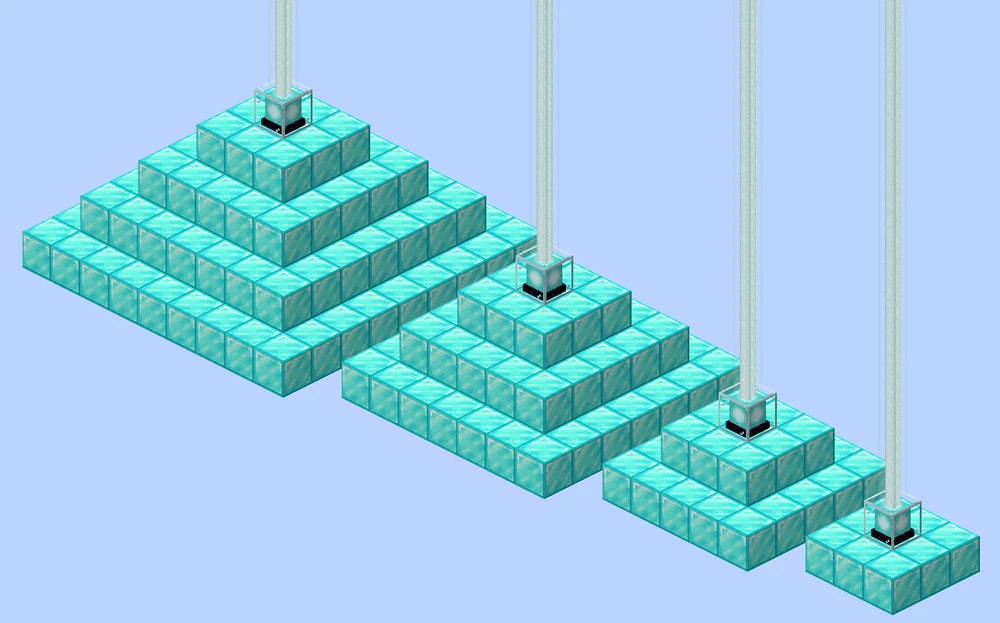
You can use either the same block for your whole pyramid or different blocks; it’s totally up to you. A beacon can be placed on a pyramid structure like the one shown above. The number of layers on pyramid should not exceed 4, as any more would serve no purpose. Here’s a summary of the number of blocks that will be used for making a pyramid for your beacon:
| Level | Mineral Blocks | Materials Required (for all blocks) | Layers |
|---|---|---|---|
| 1 | 9 | 81 | 3×3 and beacon |
| 2 | 34 | 306 | Base: 5×5, Top Layer: 3×3 and beacon |
| 3 | 83 | 747 | Base: 7×7 2nd Layer: 5×5 Top Layer: 3×3 and beacon |
| 4 | 164 | 1476 | Base: 9×9 2nd Layer: 7×7 3rd Layer: 5×5 Top Layer: 3×3 and beacon |
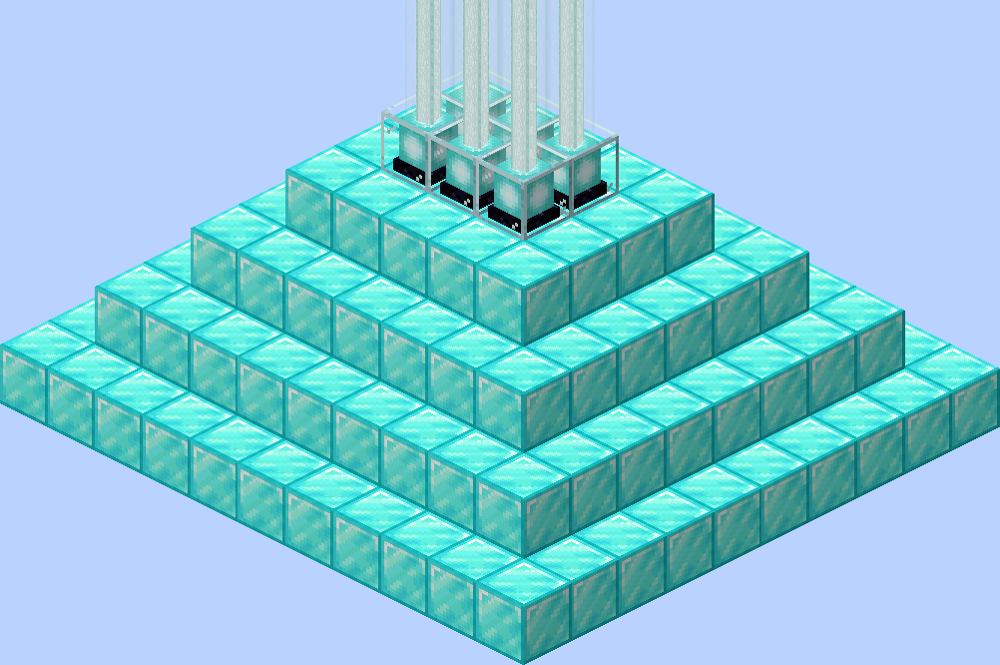
In case you want to receive more buffs, you can design a pyramid for multiple beacons. The six-beacon is a popular choice amongst many veterans. Here’s a table of the number of blocks you’ll need to make six-beacon pyramid:
| Level | Mineral Blocks | Materials Required (for all blocks) | Layers |
|---|---|---|---|
| 1 | 20 | 180 | 4×5 and beacons |
| 2 | 62 | 558 | Base: 6×7, Top Layer: 4×5 and beacons |
| 3 | 134 | 1206 | Base: 8×9 2nd Layer: 6×7 Top Layer: 4×5 and beacons |
| 4 | 244 | 2196 | Base: 10×11 2nd Layer: 8×9 3rd Layer: 6×7 Top Layer: 4×5 and beacons |
READ MORE: How to Make Smooth Stone in Minecraft in 4 Easy Steps ➜
Starting Up Your Beacon
A beacon does not start functioning automatically. First, you’ll have to assign a buff to it (if you have a 4-layer pyramid, you can assign 2 buffs). Secondly, you’ll need to sacrifice any one of the following ingots to activate these buffs: iron, gold, emerald, diamond or netherite. Any one ingot of these materials will do and the performance of the beacon will not be affected by which one you use.
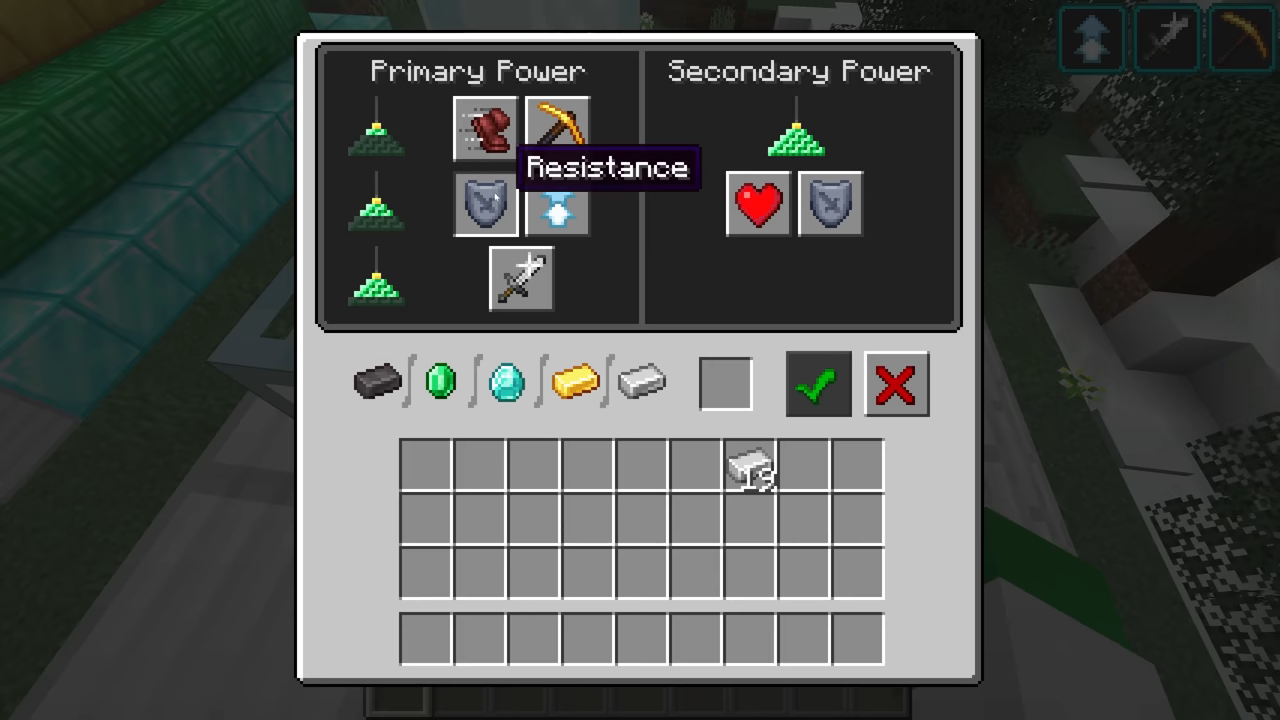
To choose what buffs a beacon grants, simply right-click or press the left trigger (L2 on PlayStation, LT on Xbox) on your joystick. Choose from the list of buffs shown and assign them to the beacon by simply selecting that buff. A Level 4 pyramid, besides granting the Regeneration buff, also allows you to choose an additional primary buff. Use this extra slot to enhance an already existing buff or equip a new one.
If you decide to change the buffs of your beacon, you’ll have to give up another ingot. Here’s a table showing what each of these buffs do:
| Buff | Effect | Requirements |
|---|---|---|
| Speed | Movement speed increases | Level 1 pyramid or above |
| Haste | Allows you to mine faster | Level 1 pyramid or above |
| Resistance | Damage Taken is decreased | Level 2 pyramid or above |
| Jump Boost | Allows you to jump higher | Level 2 pyramid or above |
| Strength | Increases the melee damage dealt by you | Level 3 pyramid or above |
| Regeneration | Regenerates your health | Level 4 pyramid; this is a Secondary Power |
READ MORE: How to Make A Shield in Minecraft – Easiest Guide With Pics ➜
The Range of a Beacon
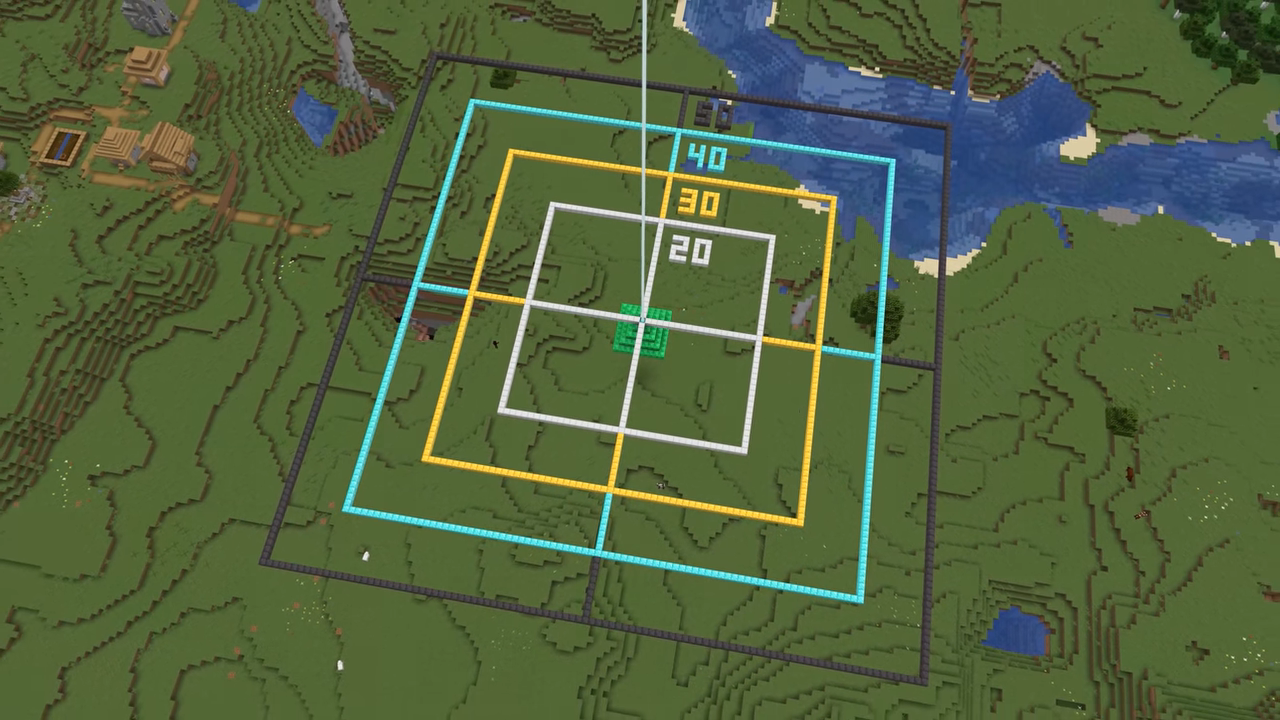
The entire purpose of a beacon is to provide you with buffs in the area close to it. The amount of buffs received and the range of the area in which they are applicable is entirely dependent on the number of layers the pyramid on which the beacon is placed, has. Here’s a table showing the number of buffs received, the range of a beacon and how long the buffs are active outside the beacon’s range.
| Pyramid Layers | Range of Beacon (in blocks) | Duration of Buffs after leaving Area-of-Effect (in seconds) |
|---|---|---|
| 1 | 20 | 11 |
| 2 | 30 | 13 |
| 3 | 40 | 15 |
| 4 | 50 | 17 |
Additionally, the range of the beacon mentioned in the table applies to the following direction: left, right and downwards. Going upwards, the range of every beacon, no matter what level it has, is 384 blocks. This means that a beacon can also be placed underground. Although, make sure that it has proper access to the sky, otherwise it won’t work.
In the case of a six-beacon structure, it will have the same area-of-effect as a normal beacon, but it will grant multiple buffs. A Level 4 six-beacon structure will grant all buffs in the area surrounding it.
READ MORE: How To Craft, Repair & Use an Anvil in Minecraft ➜
Customizing Your Beacon
Your beacon also serves as a landmark. To make it more prominent, you can change the color of the light being given off by it. All you need to do is replace the glass of the beacon with a dyed glass pane. To create a dyed glass pane, place glass panes in every slot except the middle one in the Crafting Table menu. In the middle slot, place the dye of the color of your choice.
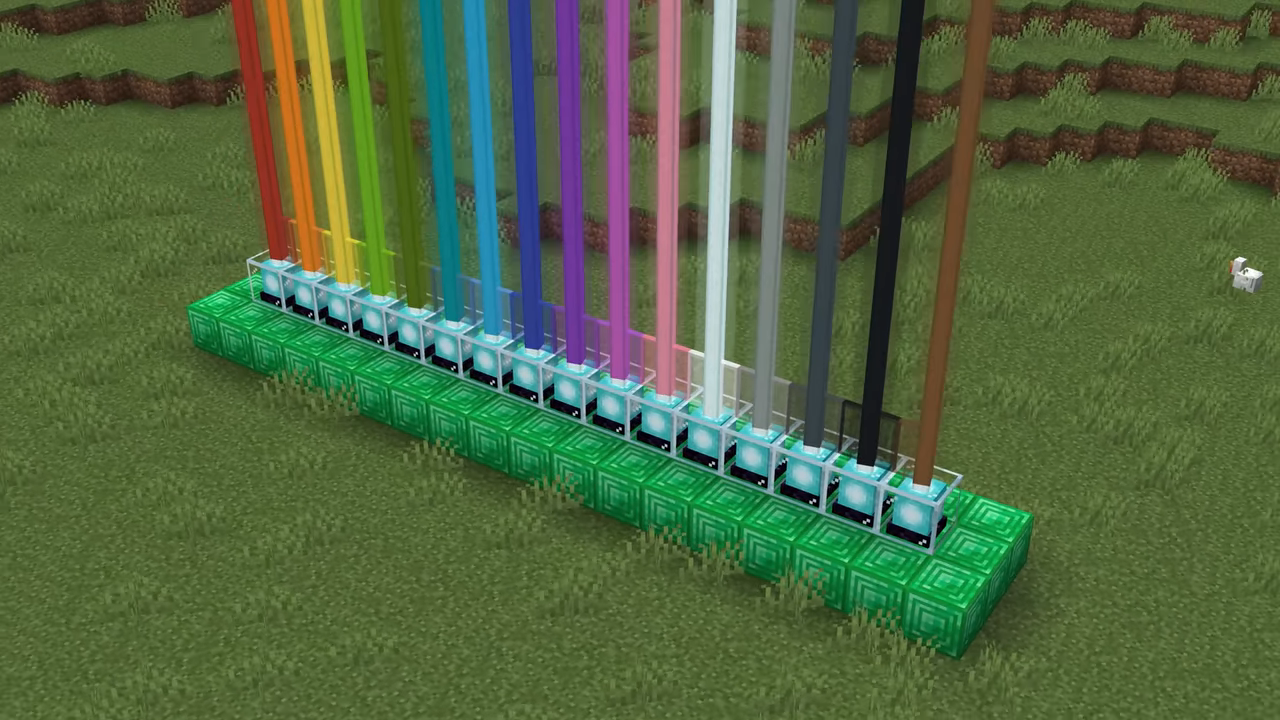
Place the dyed glass panes on top of the beacon to change the color of the light. You can stack the panes on top of each other to achieve a specific shade of two colors.
READ MORE: 20 Creative & Fun Building Ideas for Minecraft in 2024 ➜
Conclusion
Well, that’s about it. Although difficult to build, beacons are a great structure and you should definitely make one for your base if you’re close to completing the game, or even if you have completed the game. To get the best use out of beacons, place them with some distance between them, so that when you leave behind the area covered by one beacon, you step into another beacon’s area. Good luck!
FAQs
Beacons are structures that can act as landmarks and grant you buffs over a specific area.
To make a beacon, you’ll need 5x Glass, 3x obsidian and 1 Nether Star. Besides that, you’ll also need a large amount of any one of the following blocks; iron, gold, emerald, diamond, or netherite.
You can get a maximum of 2 buffs from one beacon. To get more, you’ll have to make a multi-beacon setup.
No, as adding a 5th layer will not enhance the beacon’s capabilities. Therefore, it would be only a waste of valuable resources.

